MerCruiser Port Cylinder Head Removal Process
Port Cylinder Head Removal – Exhaust Manifold
We will start the MerCruiser Port Cylinder Head Removal by removing the wiring to to “Lube” bottle. Much to my dismay, the label came off the wiring! Maybe its because the boat sank in saltwater? Secondly, we will remove the exhaust manifold bolts and coolant connection on the manifold. there are four long 14 mm bolts that hold the manifold on. I did not take the Corsa exhaust diverter off. As a result, I had to revert to using a 3/8 ratchet and 14mm socket on the farthest bolt at the back. As with the Starboard manifold, I forgot to remove the lower coolant connection. So with that said, I probably should have started there?
MerCruiser Port Cylinder Head Removal – Lift Bracket / Power Steering Pump /Rear Ignition coil wiring
This manifold weighs half as much as I do? With the Port Exhaust manifold removed, I will proceed to remove the bolts that attach the front lift bracket to the head. In all, there are two bolts that I had to take out. This is the bracket that holds the power steering pump, seawater pump, serpentine belt tensioner, and block drain valve. There was all sort of things out of place on this lifting as the bracket. It looks bent, and half the bolts and nuts are either wrong or missing. Can you say lack of caring and attention to detail? Lastly, I remove the wiring connections on the back bracket that are for the distributor and ignition coil.
Cylinder Head Removal
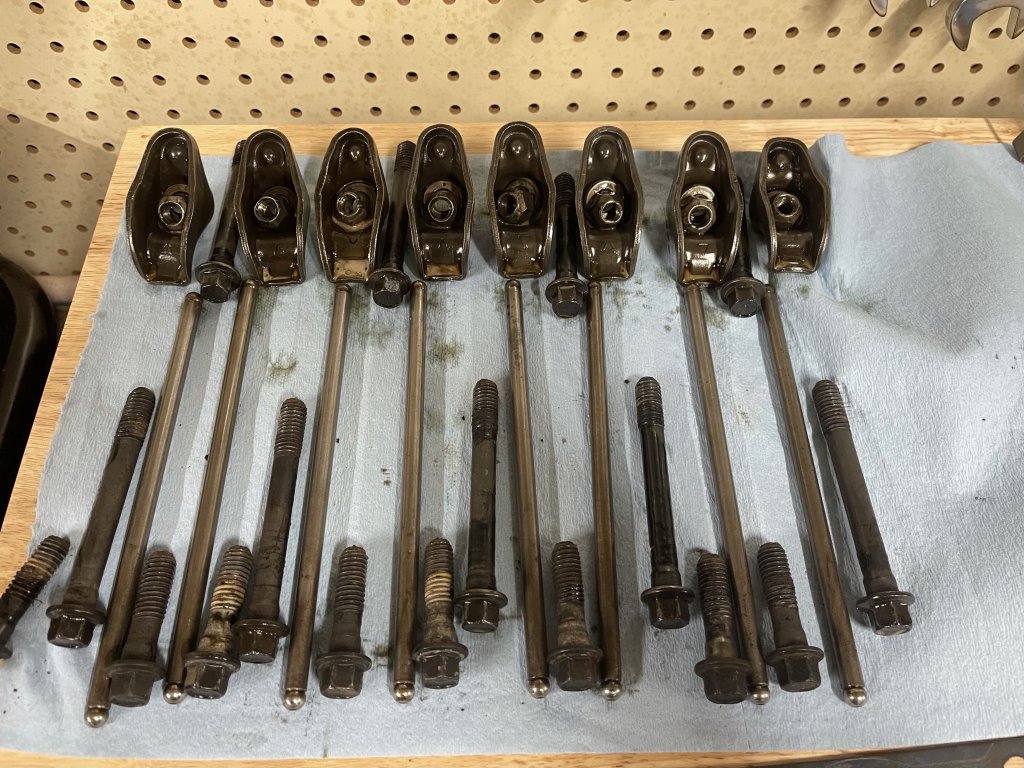
We are finally ready to remove the port head. Wait the fun unexpected part is about to happen. This is exactly the same process as the starboard head. First, remove the eight external head bolts. Secondary, remove the eight rocker arm nuts, rocker arms and pushrods, to access the four head bolts in between. I put these in order. Of how I pulled them, but I don’t think it matters.
Thirdly, Remove all the remaining head bolts, and lift off the head. I did not have to use the dead blow hammer to remove the cylinder head. So this might actually reveal something . Due to space limitations I had to use a combination of the impact and hand tools because I did not remove the Corasa exhaust. no this all sounds simple, till your back goes out while trying to maneuver the head to the back of the boat. This actually happened, and I had to stop by leaving the cylinder head precarious balanced in the lifter valley. You think this would have happened last week when I shoveled the driveway for three hours, not this. Oh well.
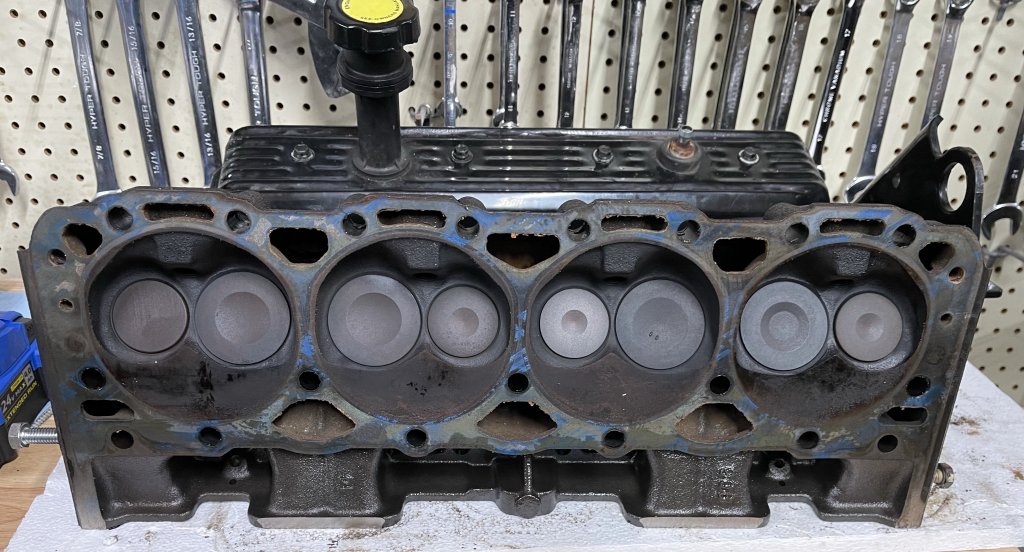
What does this reveal ? A lot actually!

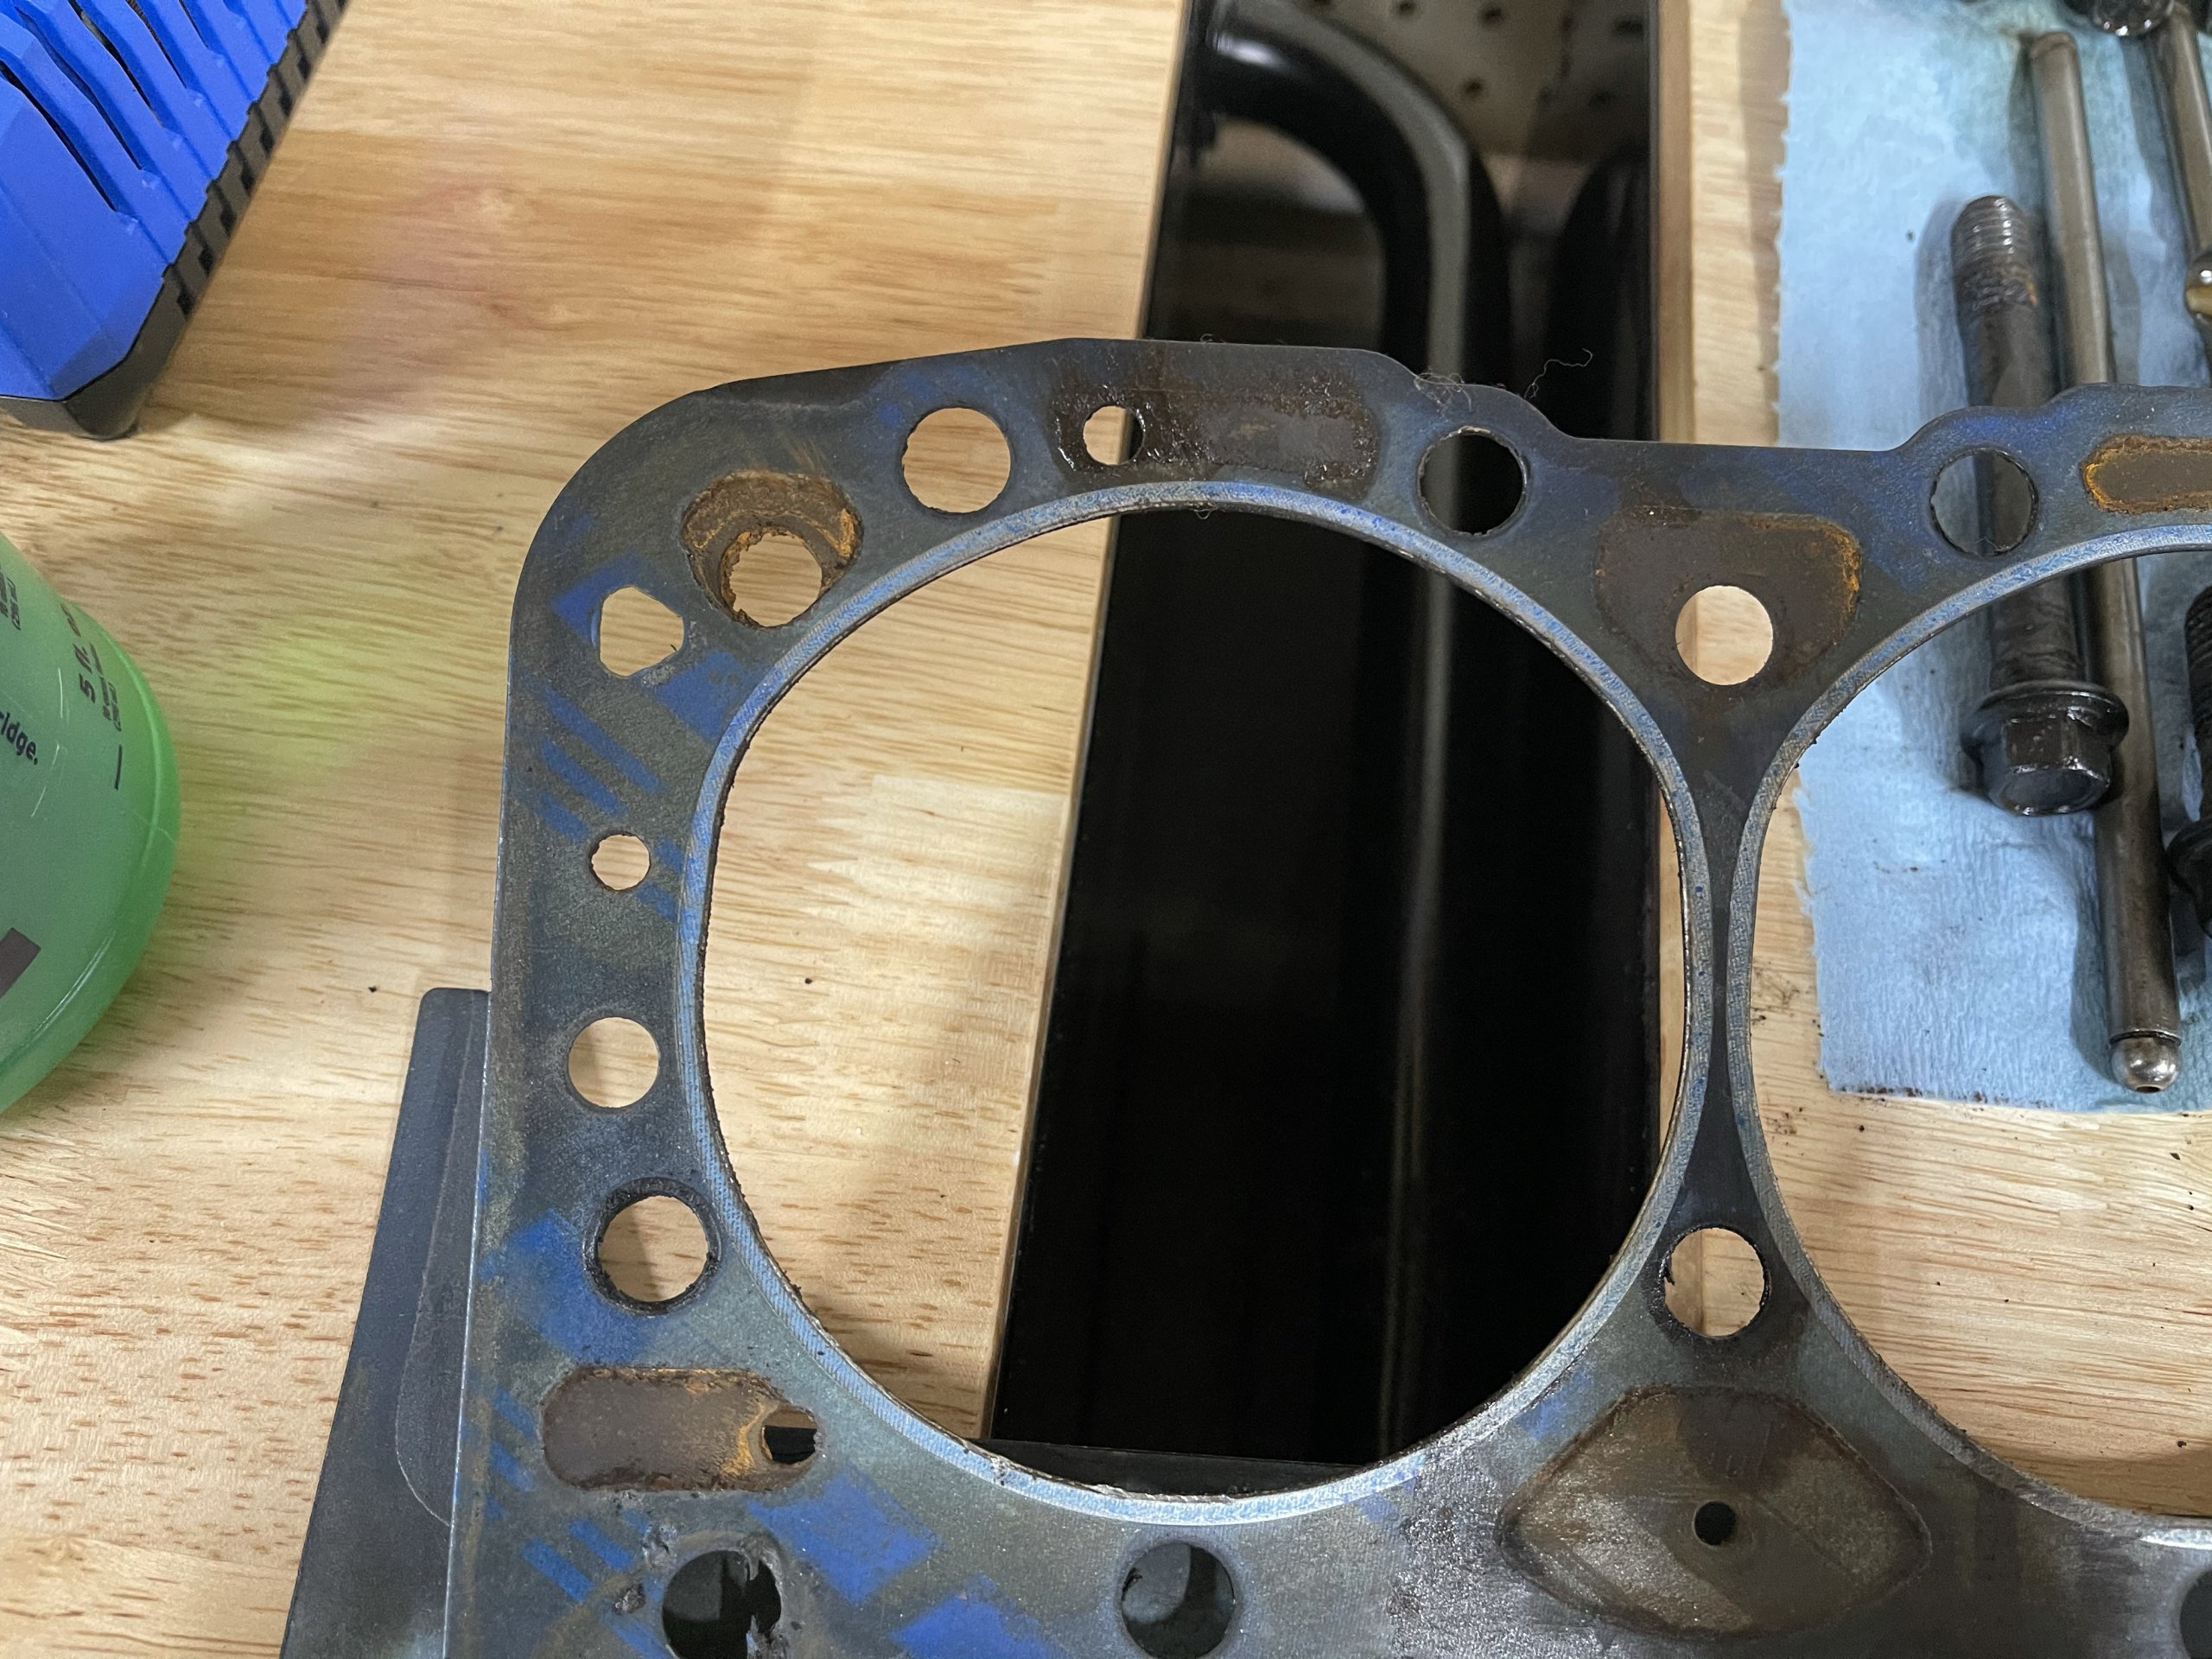
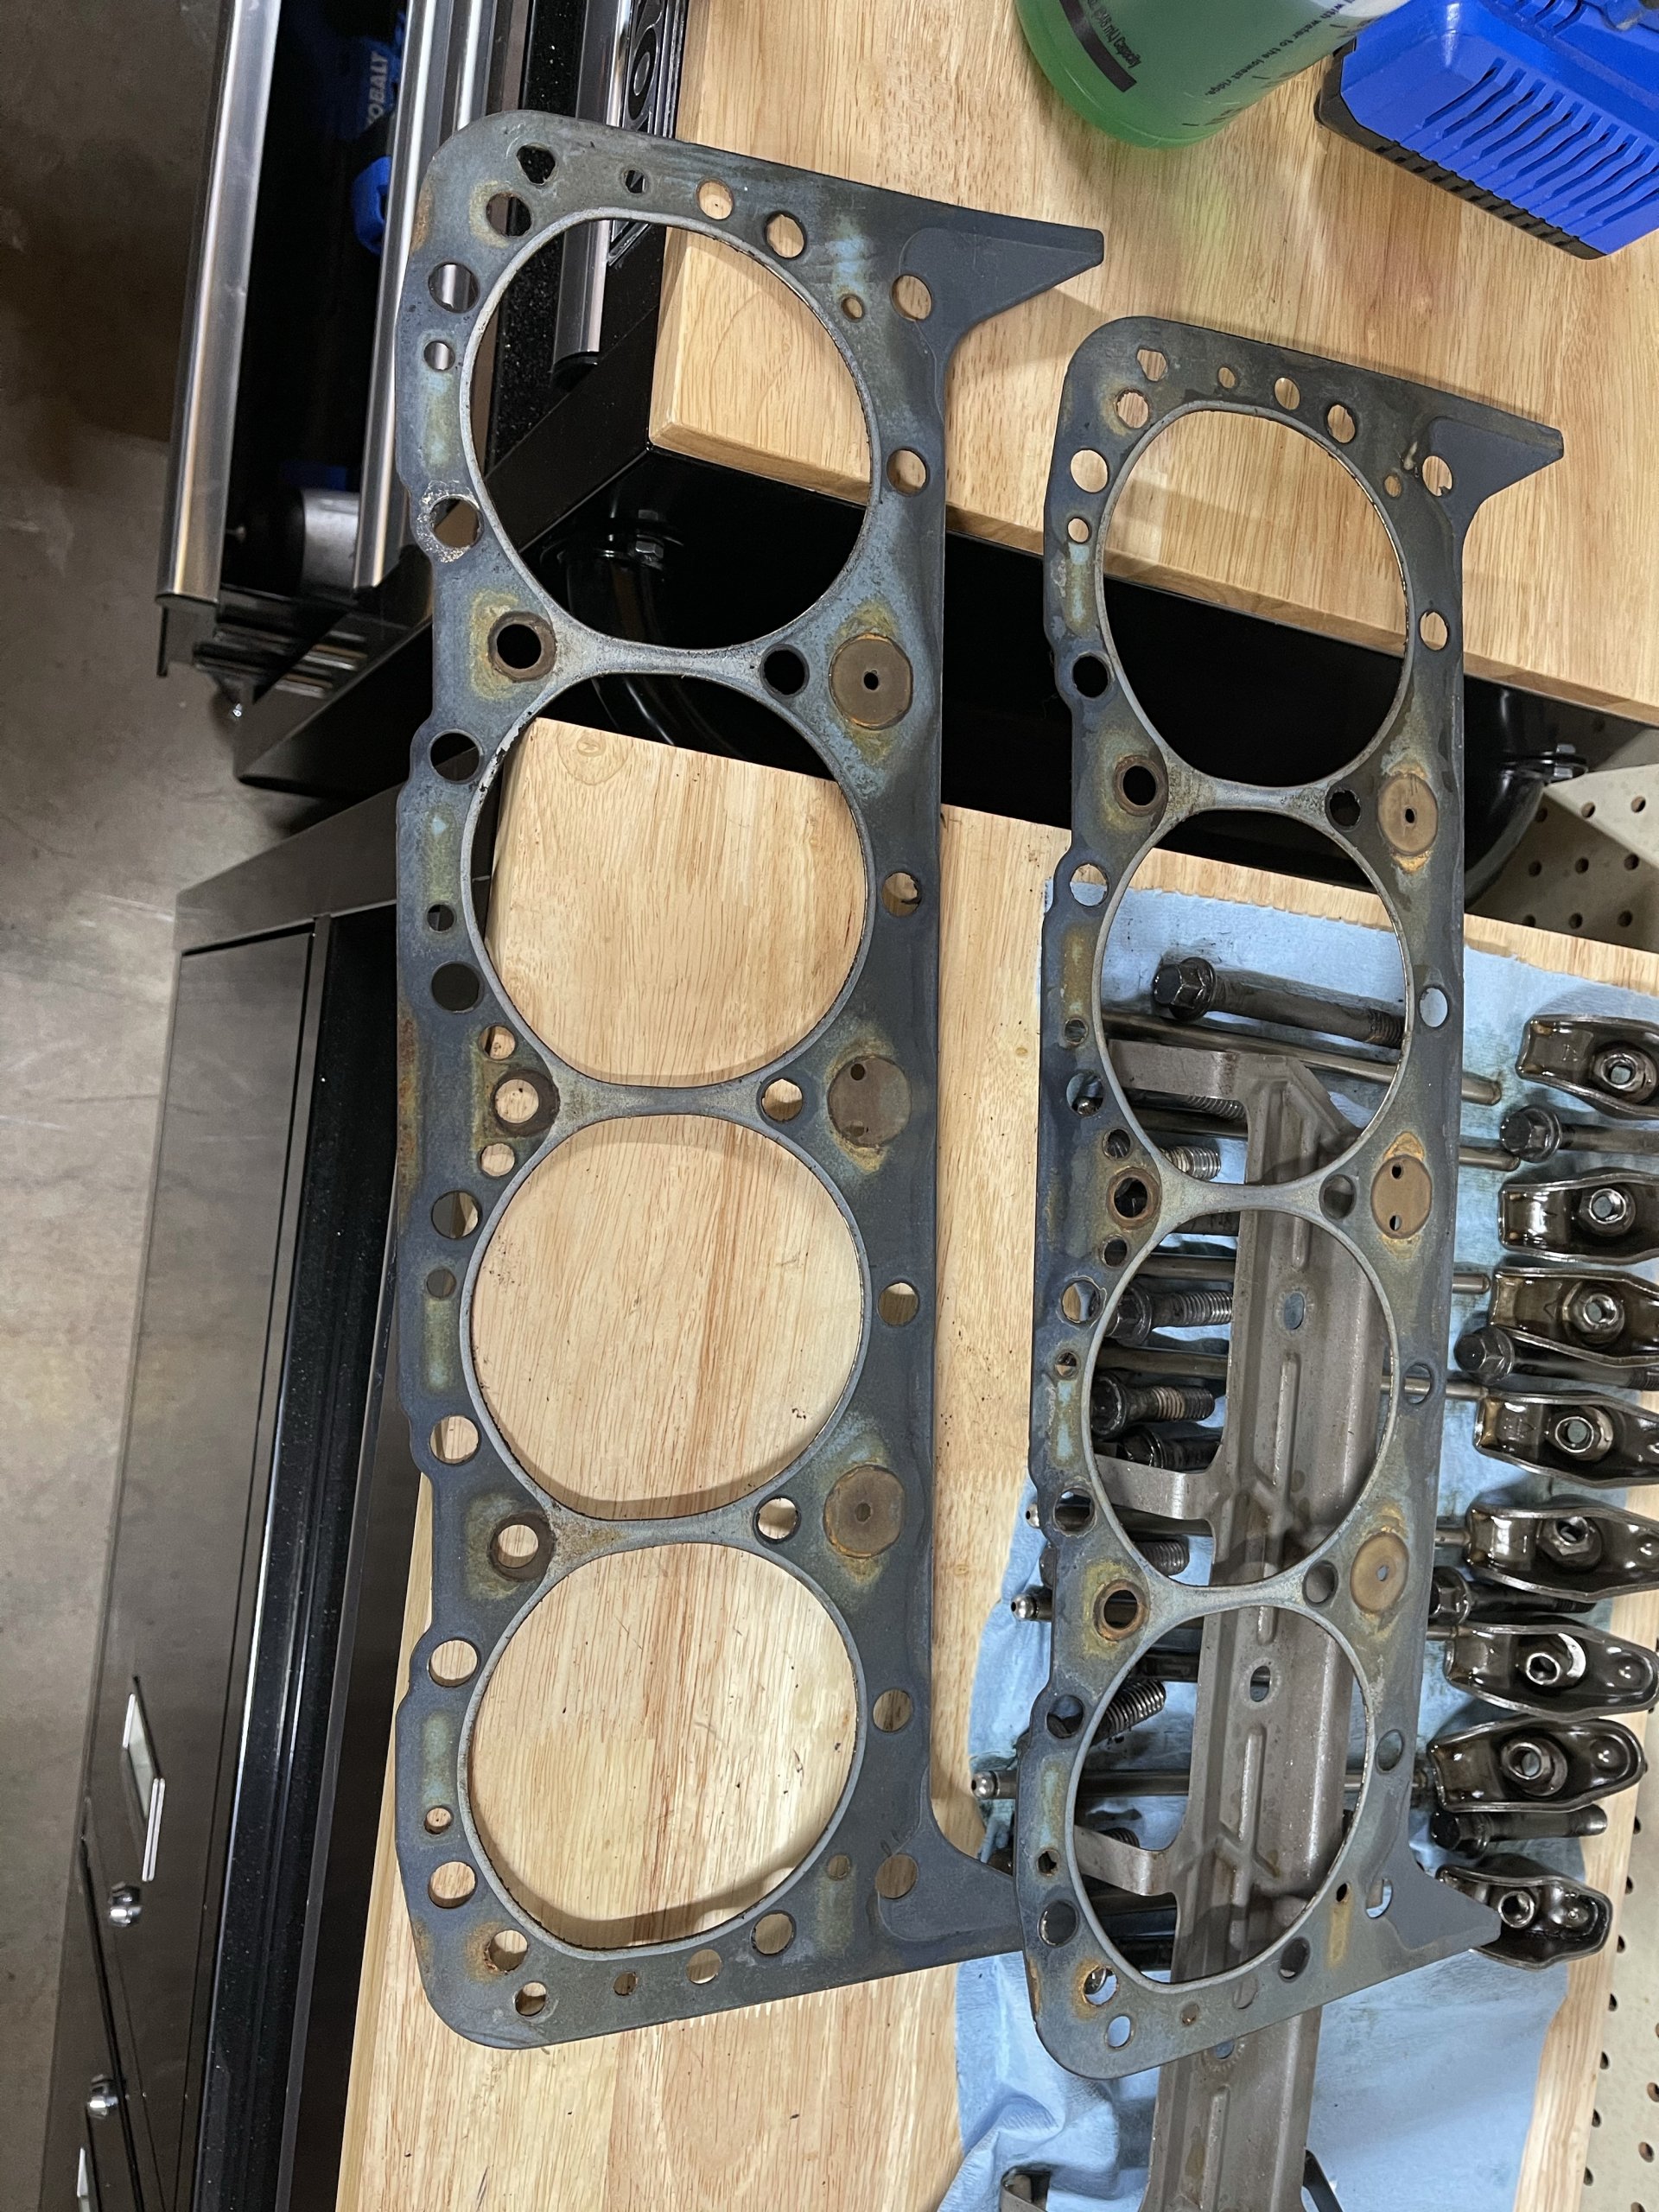
So about a day later and a bunch of pain relievers and heat to help with whatever I have done to my back. I’m half back in commission. We are going to take a look at what we see! So there is a multitude of things on this side of the engine. Firstly, it looks like there is some sort of head gasket failure between cylinders five and seven. Lots of oil there and at the rear towards the lifter valley.
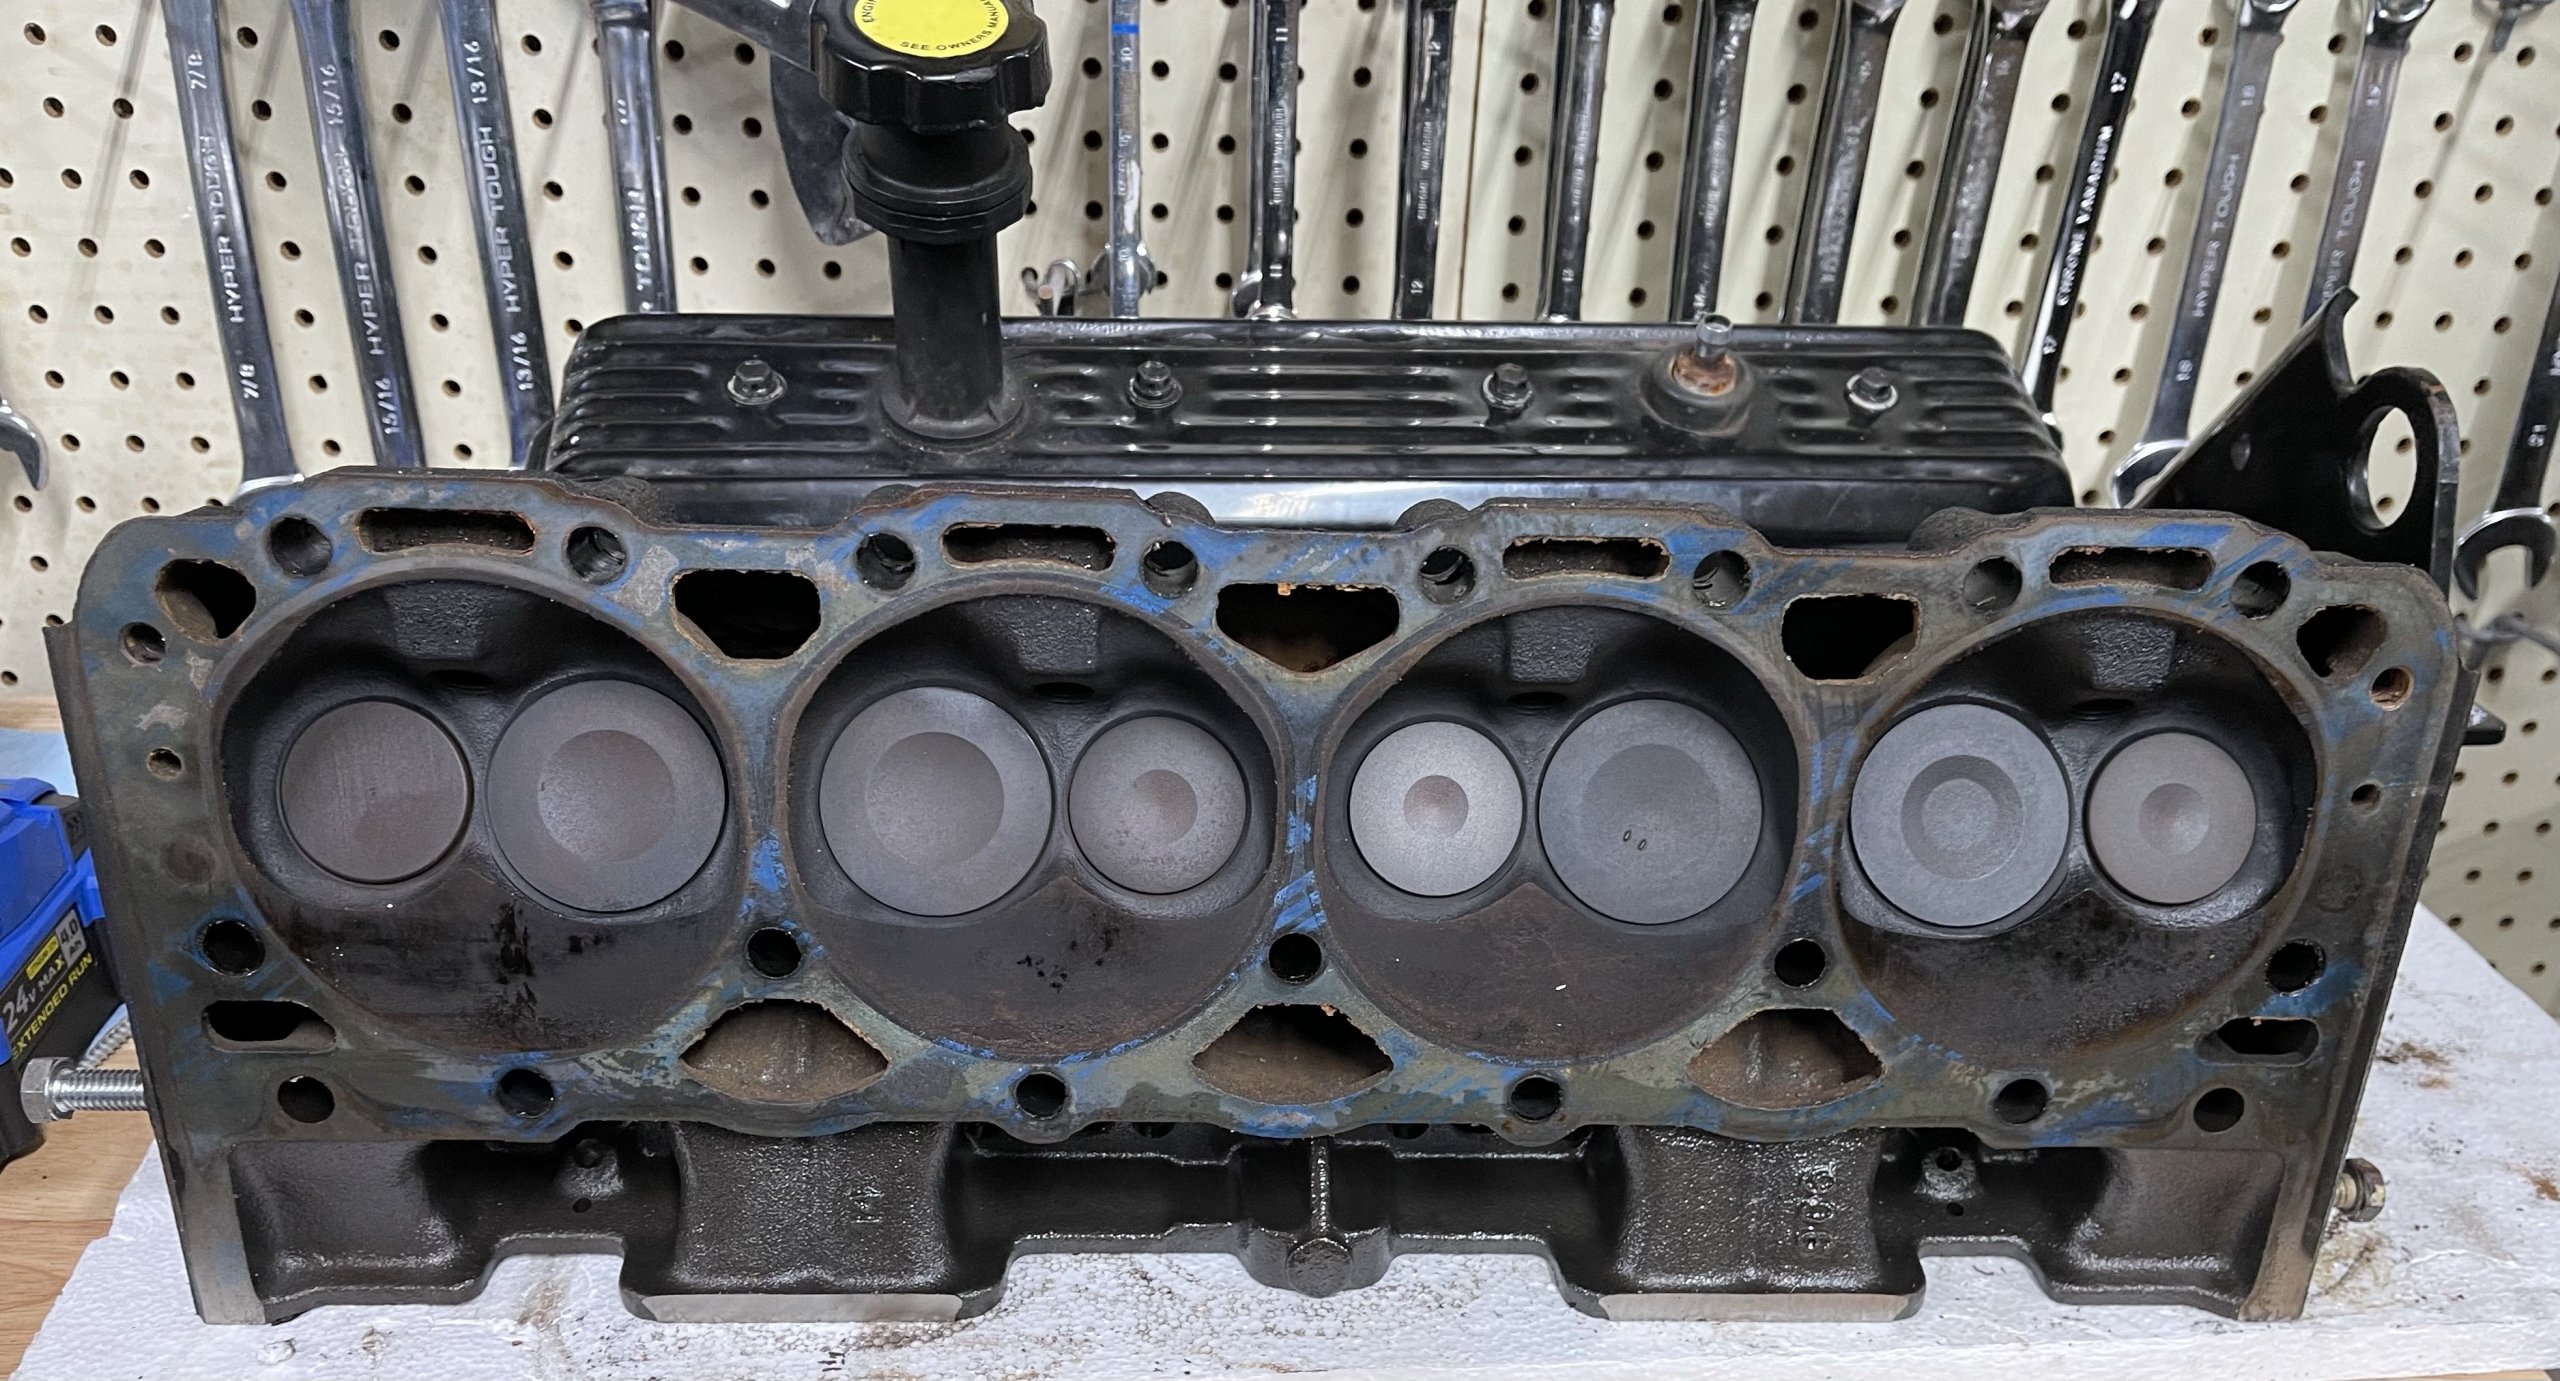

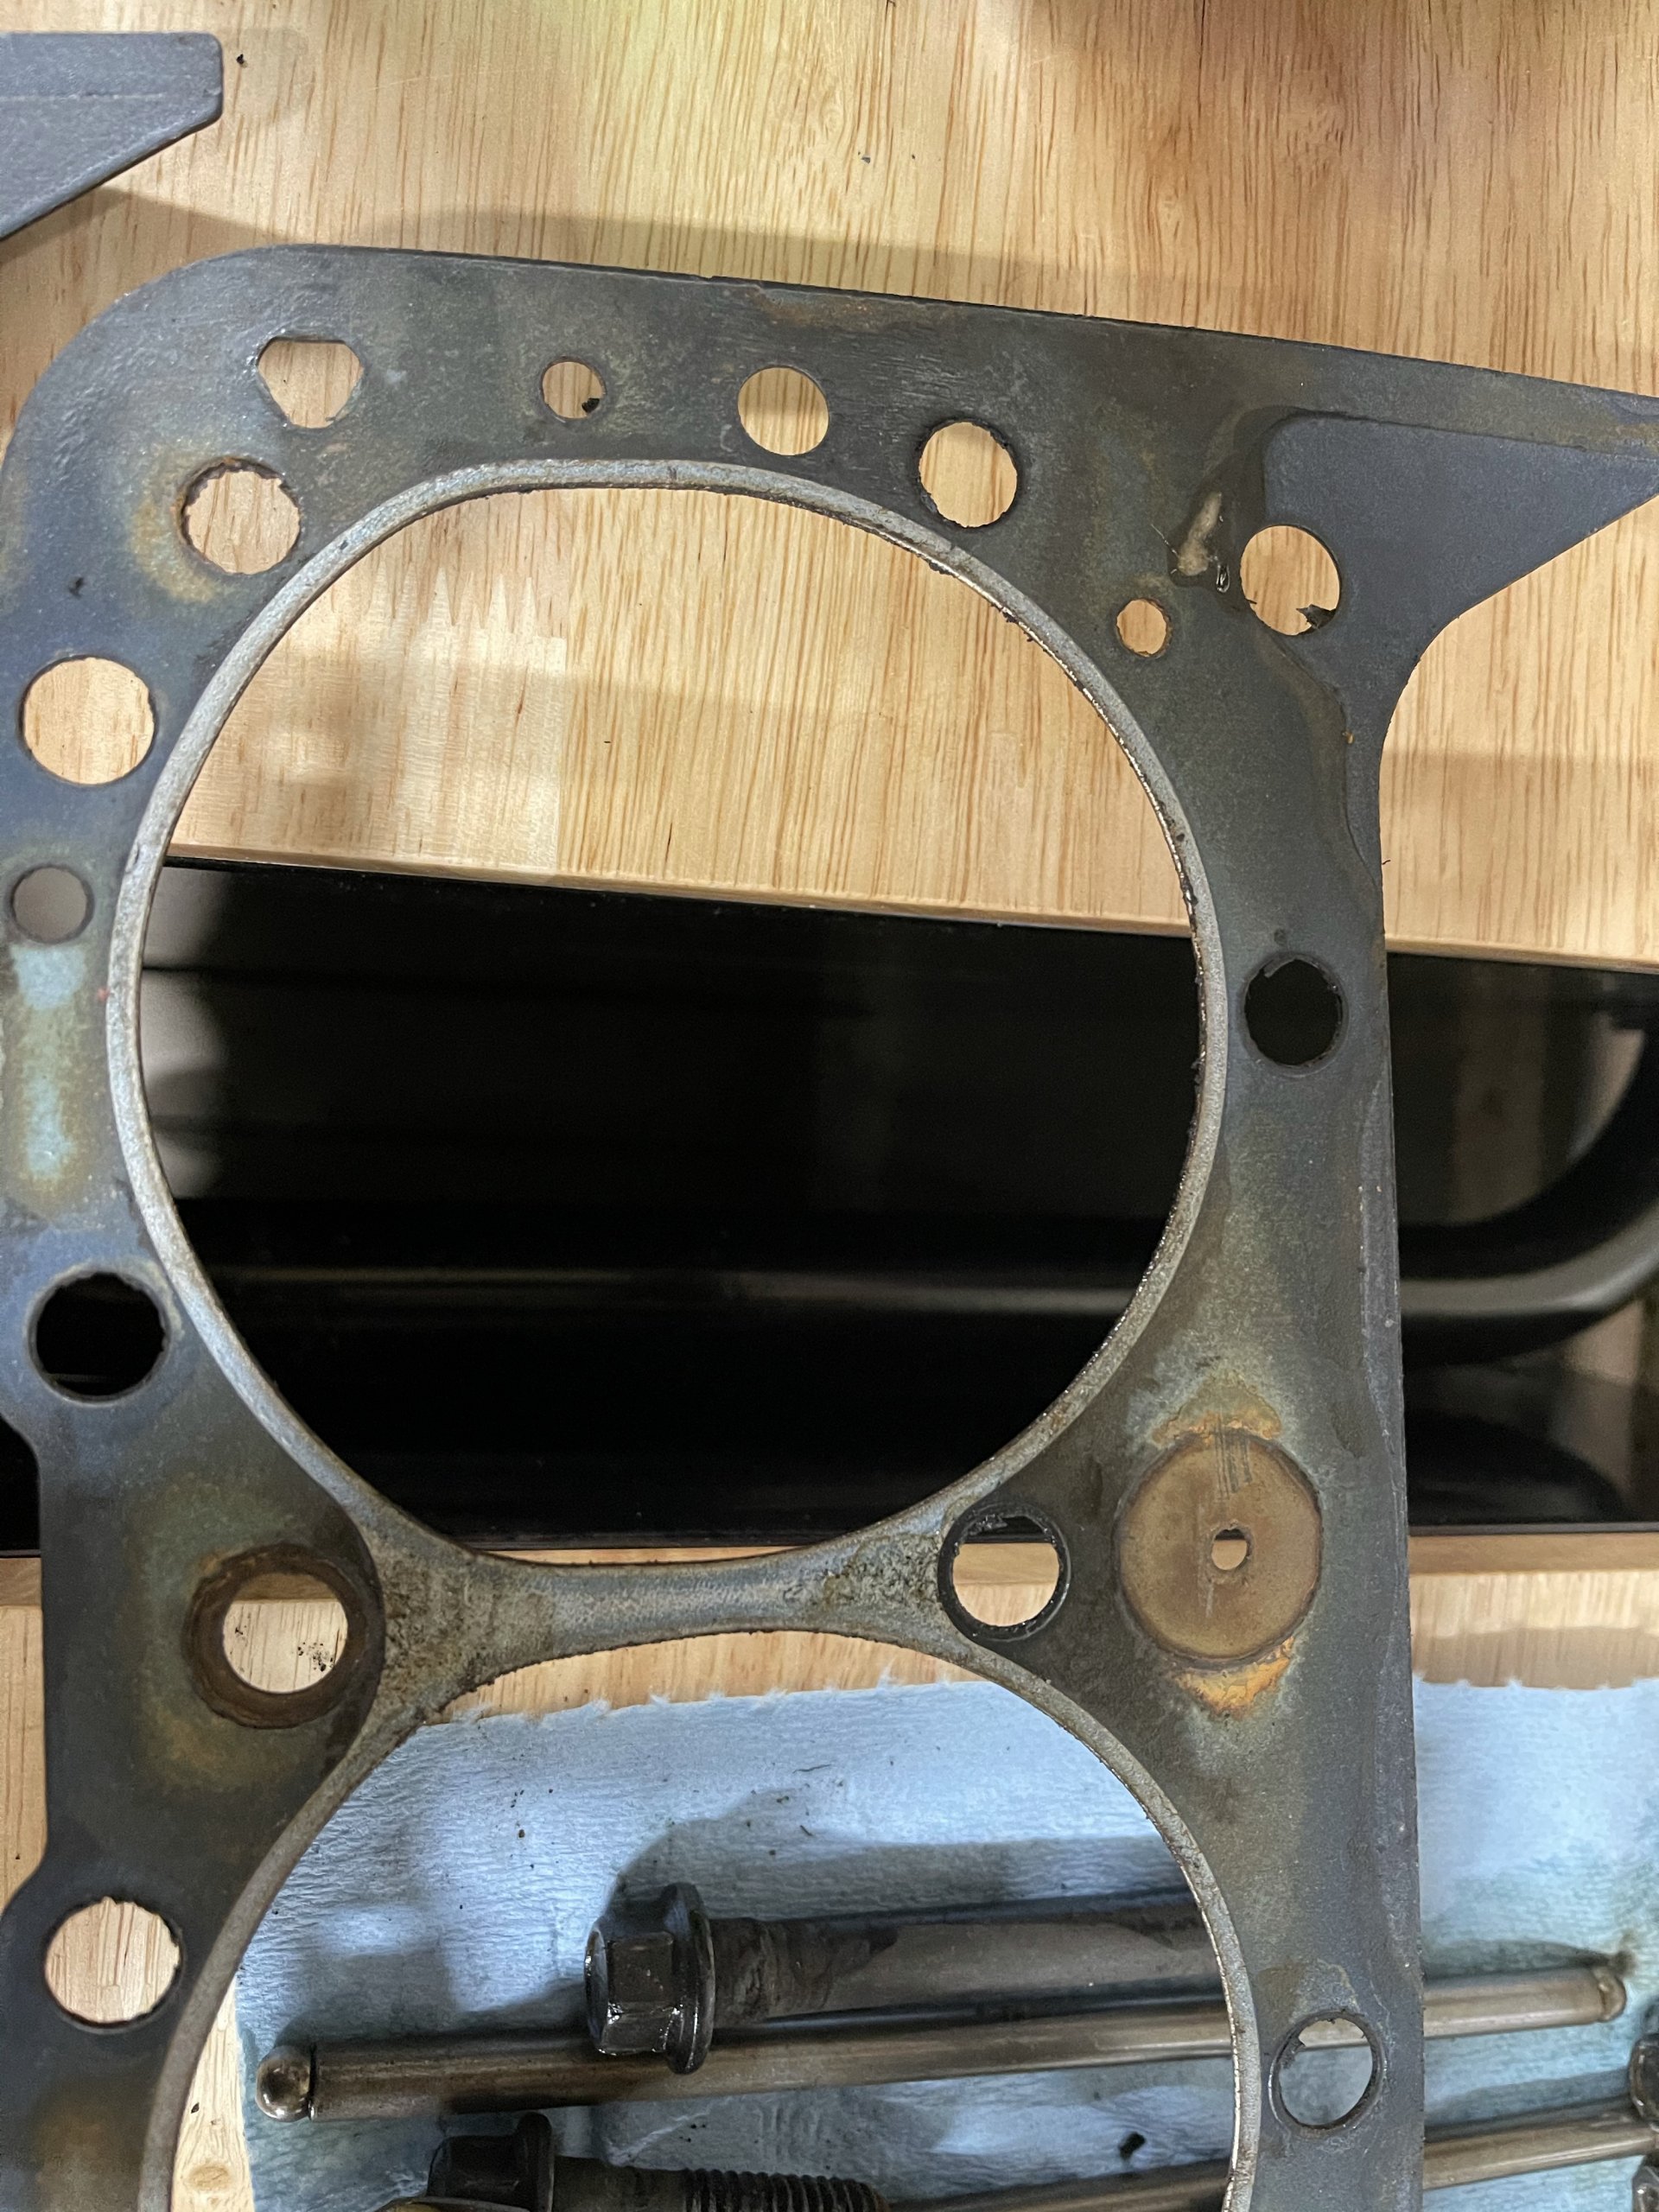
This could be from the fact that there are no functional gauges. Also removing the Corsa exhaust revealed an exhaust flapper that appears to be bad. It’s stuck in an open position. It my have contributed to the overall issue. We also find out that the engine that was put in is a 5.7 not the 5.0 that the ECU is calibrated for. The engine will likely run lean, and it appears that is the case. Lean is hot!
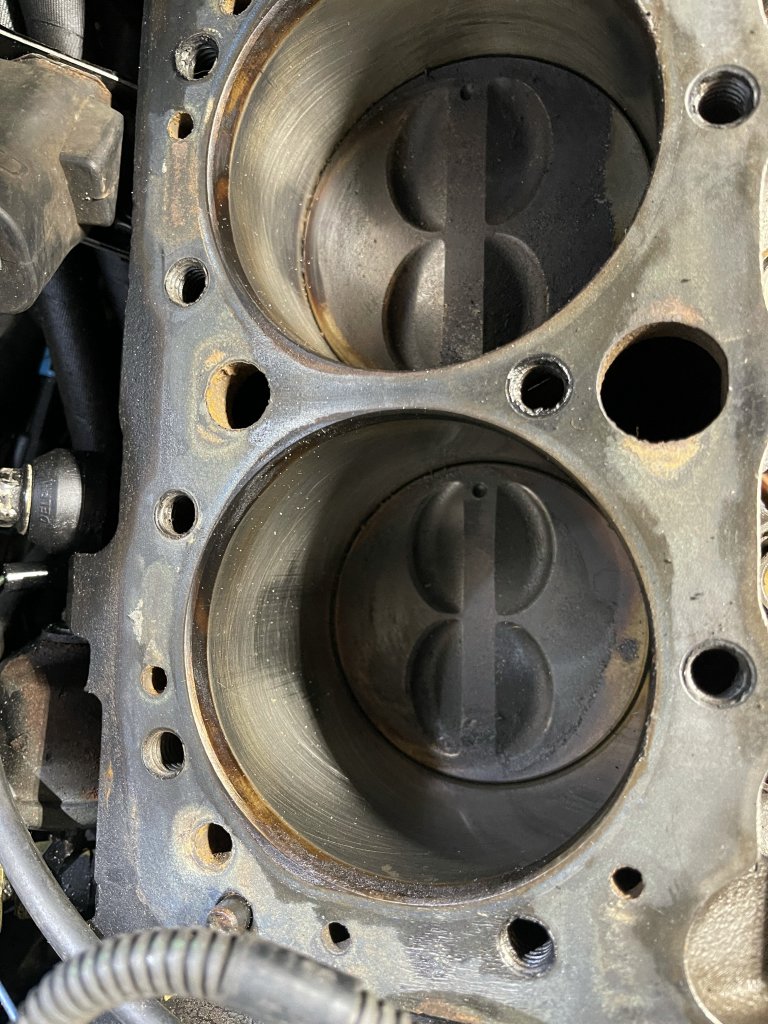
Consequently, you can see that oil and water appear to be mixing. Take a closer look at the lower right. This may be the why as to how water is getting in the engine. Secondly, notice that there appears to be washing of the piston domes and related cylinder walls in most cylinders. Now the question becomes, what should I do?
So we have some decisions to make!
With the top end of the motor disassembled, I need to make a decision about what I see here. There is wear in the cylinder bore, probably due to the water and lean condition. This probably lead to the piston skirts scuffing the bore due to lack of lubrication. There really isn’t much point of putting this back together, without going through the entire engine. This engine probably has less than five hours on it. This a shame.
What needs to be addressed
- Take heads to be inspected, cleaned, remove pressed in studs and replace any bad components ($300)
- Have intake manifold , cleaned ($50)
- Replace all the injectors and main engine wiring harness ($300) – ordered injectors
- pull the engine block, have it cleaned and inspected, honed / bored ($400) – we aren’t going to do this 3/17/21
- Replace all the gaskets with marine grade ($100)
- Replace harmonic balancer and missing crankshaft bolts ($100)
- Clean rust, replace missing hardware ($100)
What the engine guy said to do
So, I dropped off the heads today. He does not see anything obvious with the heads or the gaskets, other than the gaskets are not right. His suggestion is to put the heads back on and pressure test the system. Consequently, it was what is was going to do prior to pulling off all cylinder heads and intake. He also suggested not to pull the block. So he will clean and check the cylinder heads, and the intake. Asked him if I should put in screw in rocker arm studs. He suggested not to. So it’s going to take about a week to get that work done. In the mean time I’m going to start cleaning things up with regards to the upper intake and throttle body.
So with that