
MerCruiser Intake Manifold Removal Process -Starboard riser and exhaust manifold removal Process
To Summarize the intake removal process, we are going to start the by removing the risers and exhaust manifolds.
Starboard Throttle Plate, Interlock, and Injectors Harness Removal
First, start by removing the throttle plate and related parts. Next, I disconnected all the injectors from the wiring harnesses. Secondly, I remove the electrical connectors. there is a grey clip you pull back, squeeze the black injector clip and then pull straight off.
Starboard Riser and exhaust Manifold Removal
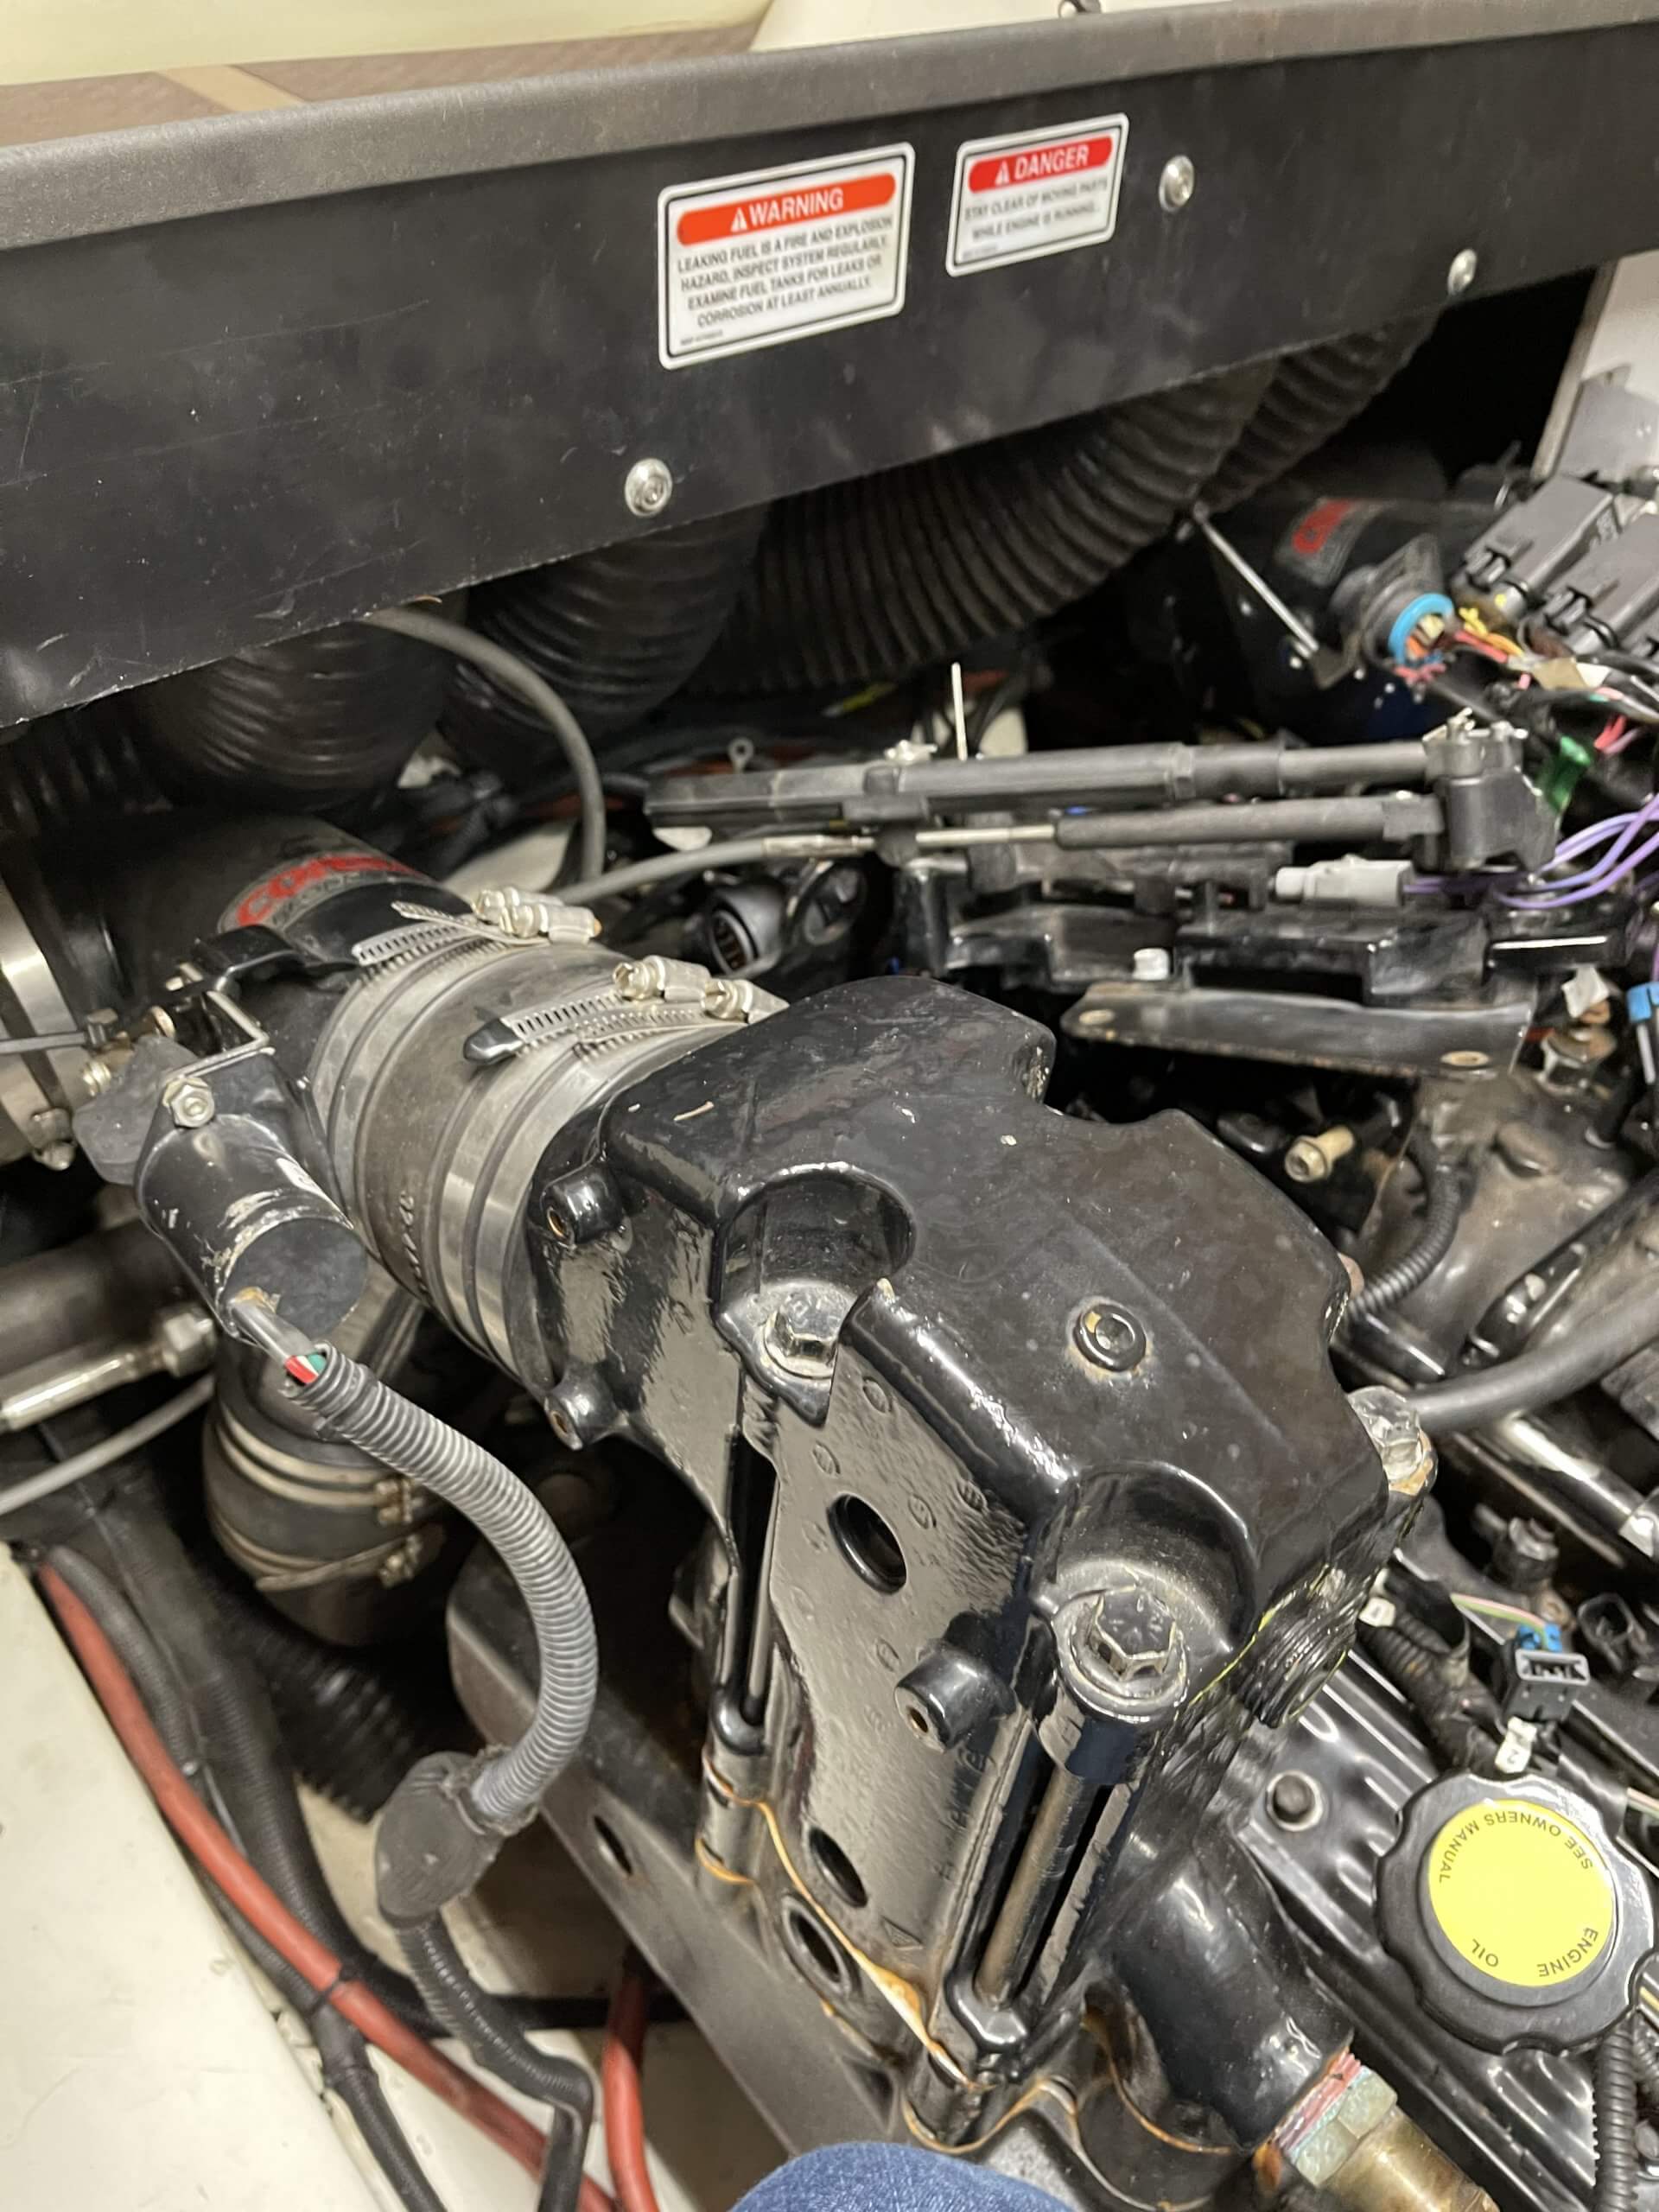
To Start to remove the MerCruiser Intake Manifold Removal. We need to remove a few things. First, start by loosening the band clamps on the risers. now, there are four clamps. To ensure ease of riser removal, be sure to loosen the band clamps so they spin freely.
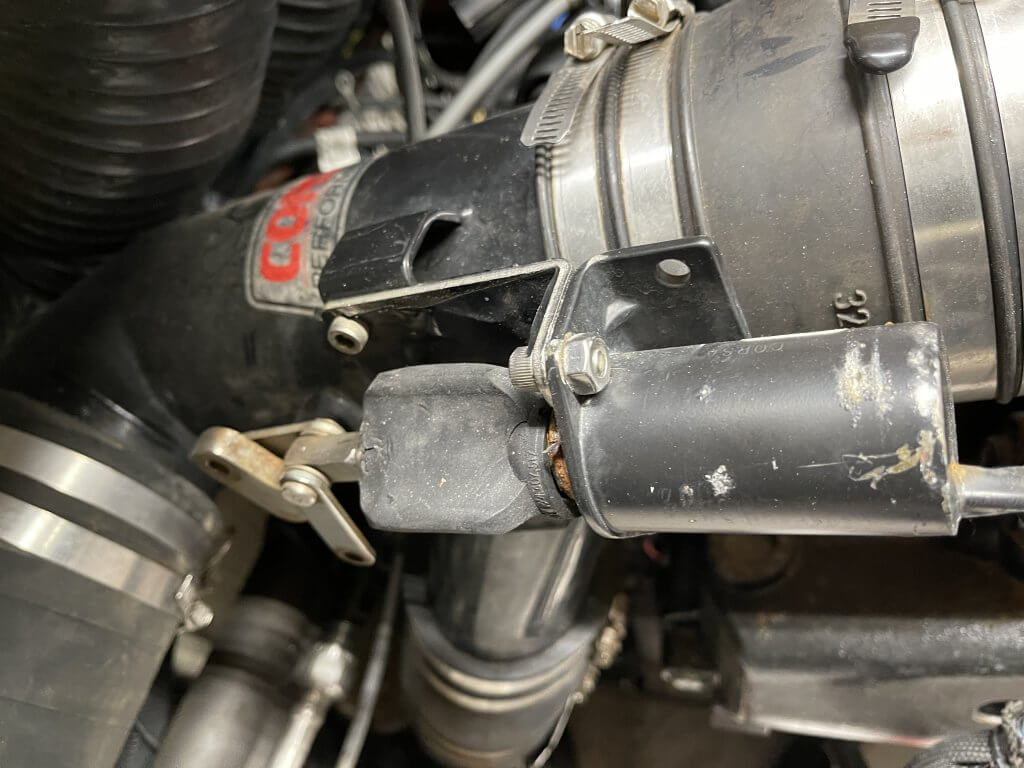
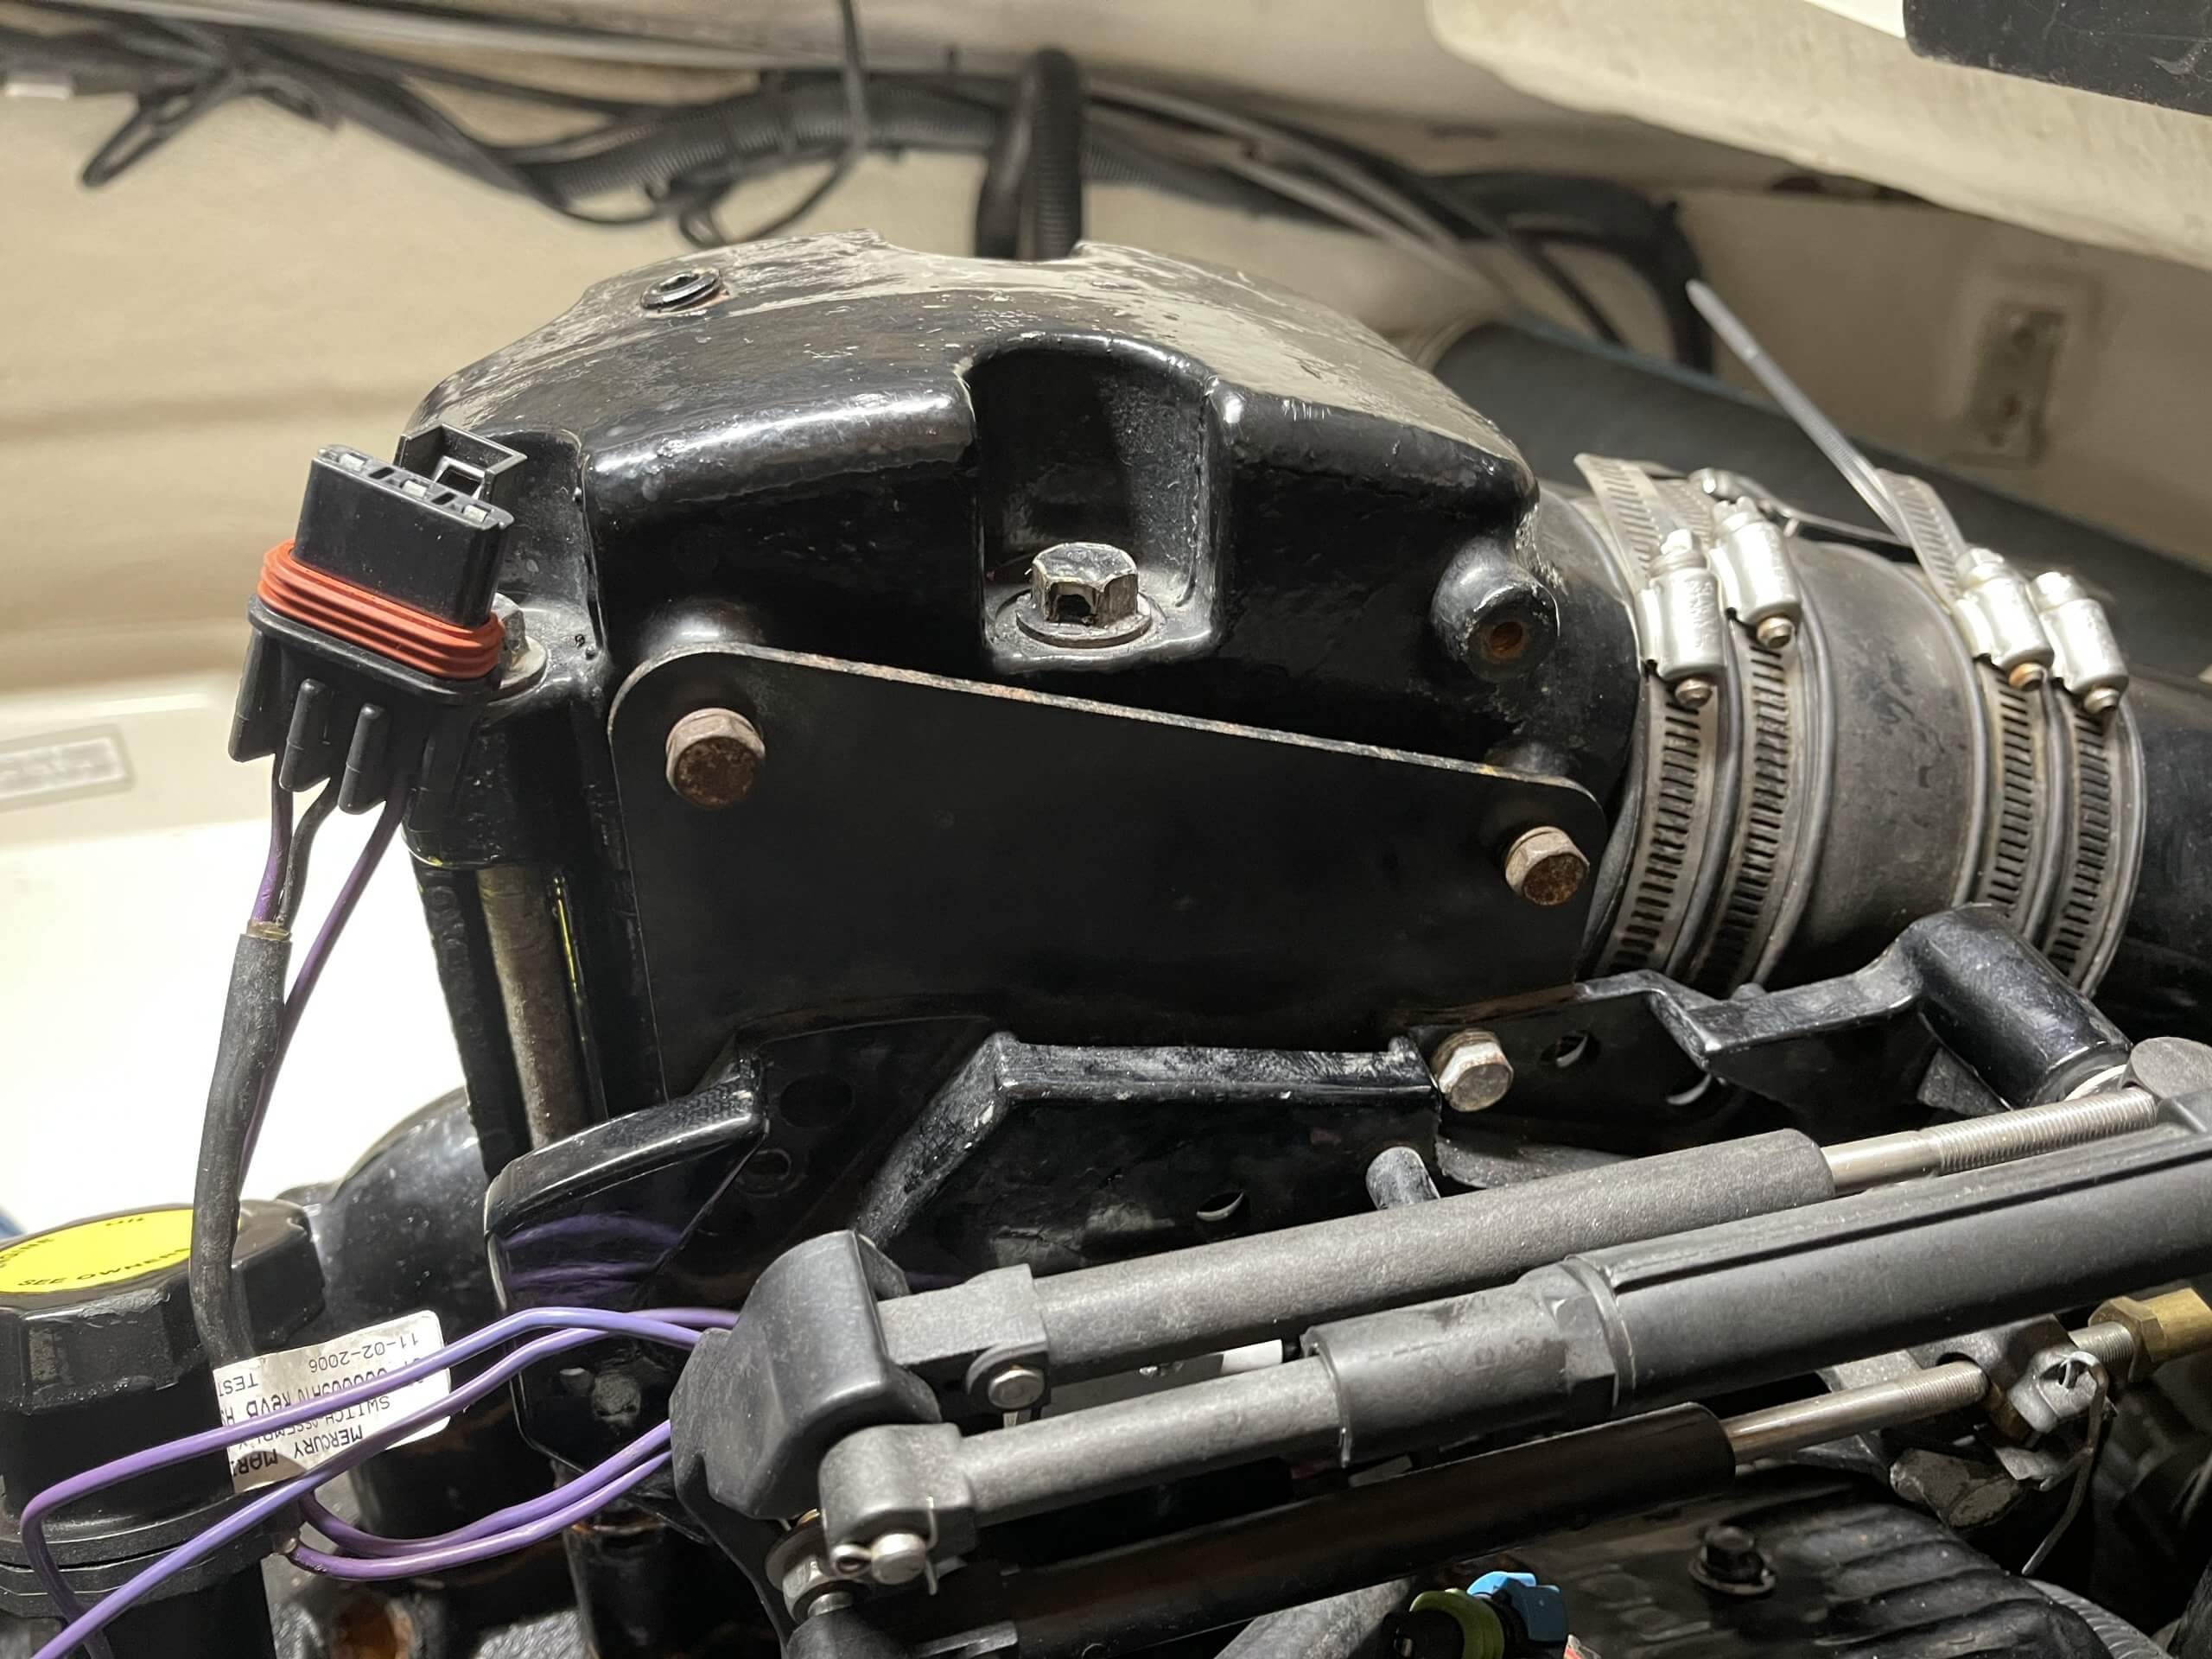
Meanwhile, take notice of the servo actuator for the Corsa through-hull exhaust; It is not connected. In addition, it was wire tied open. To conclude, not my work or first choice in how to solve the issue with the wiring!
Starboard threw hull exhaust 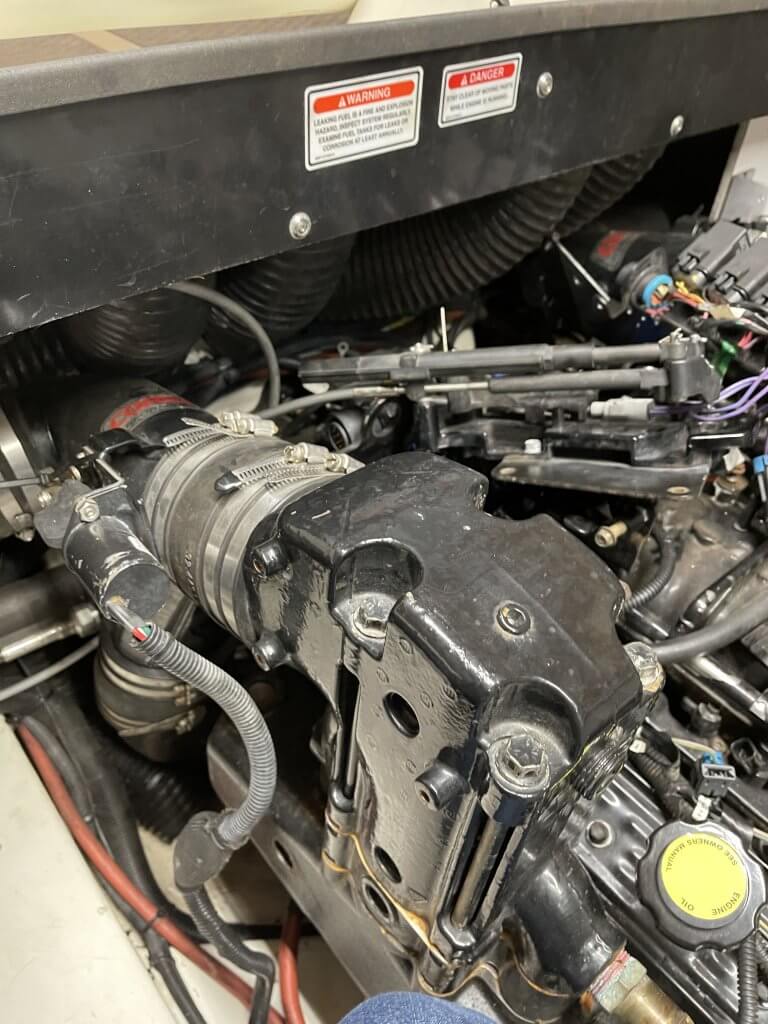
Starboard Port Riser
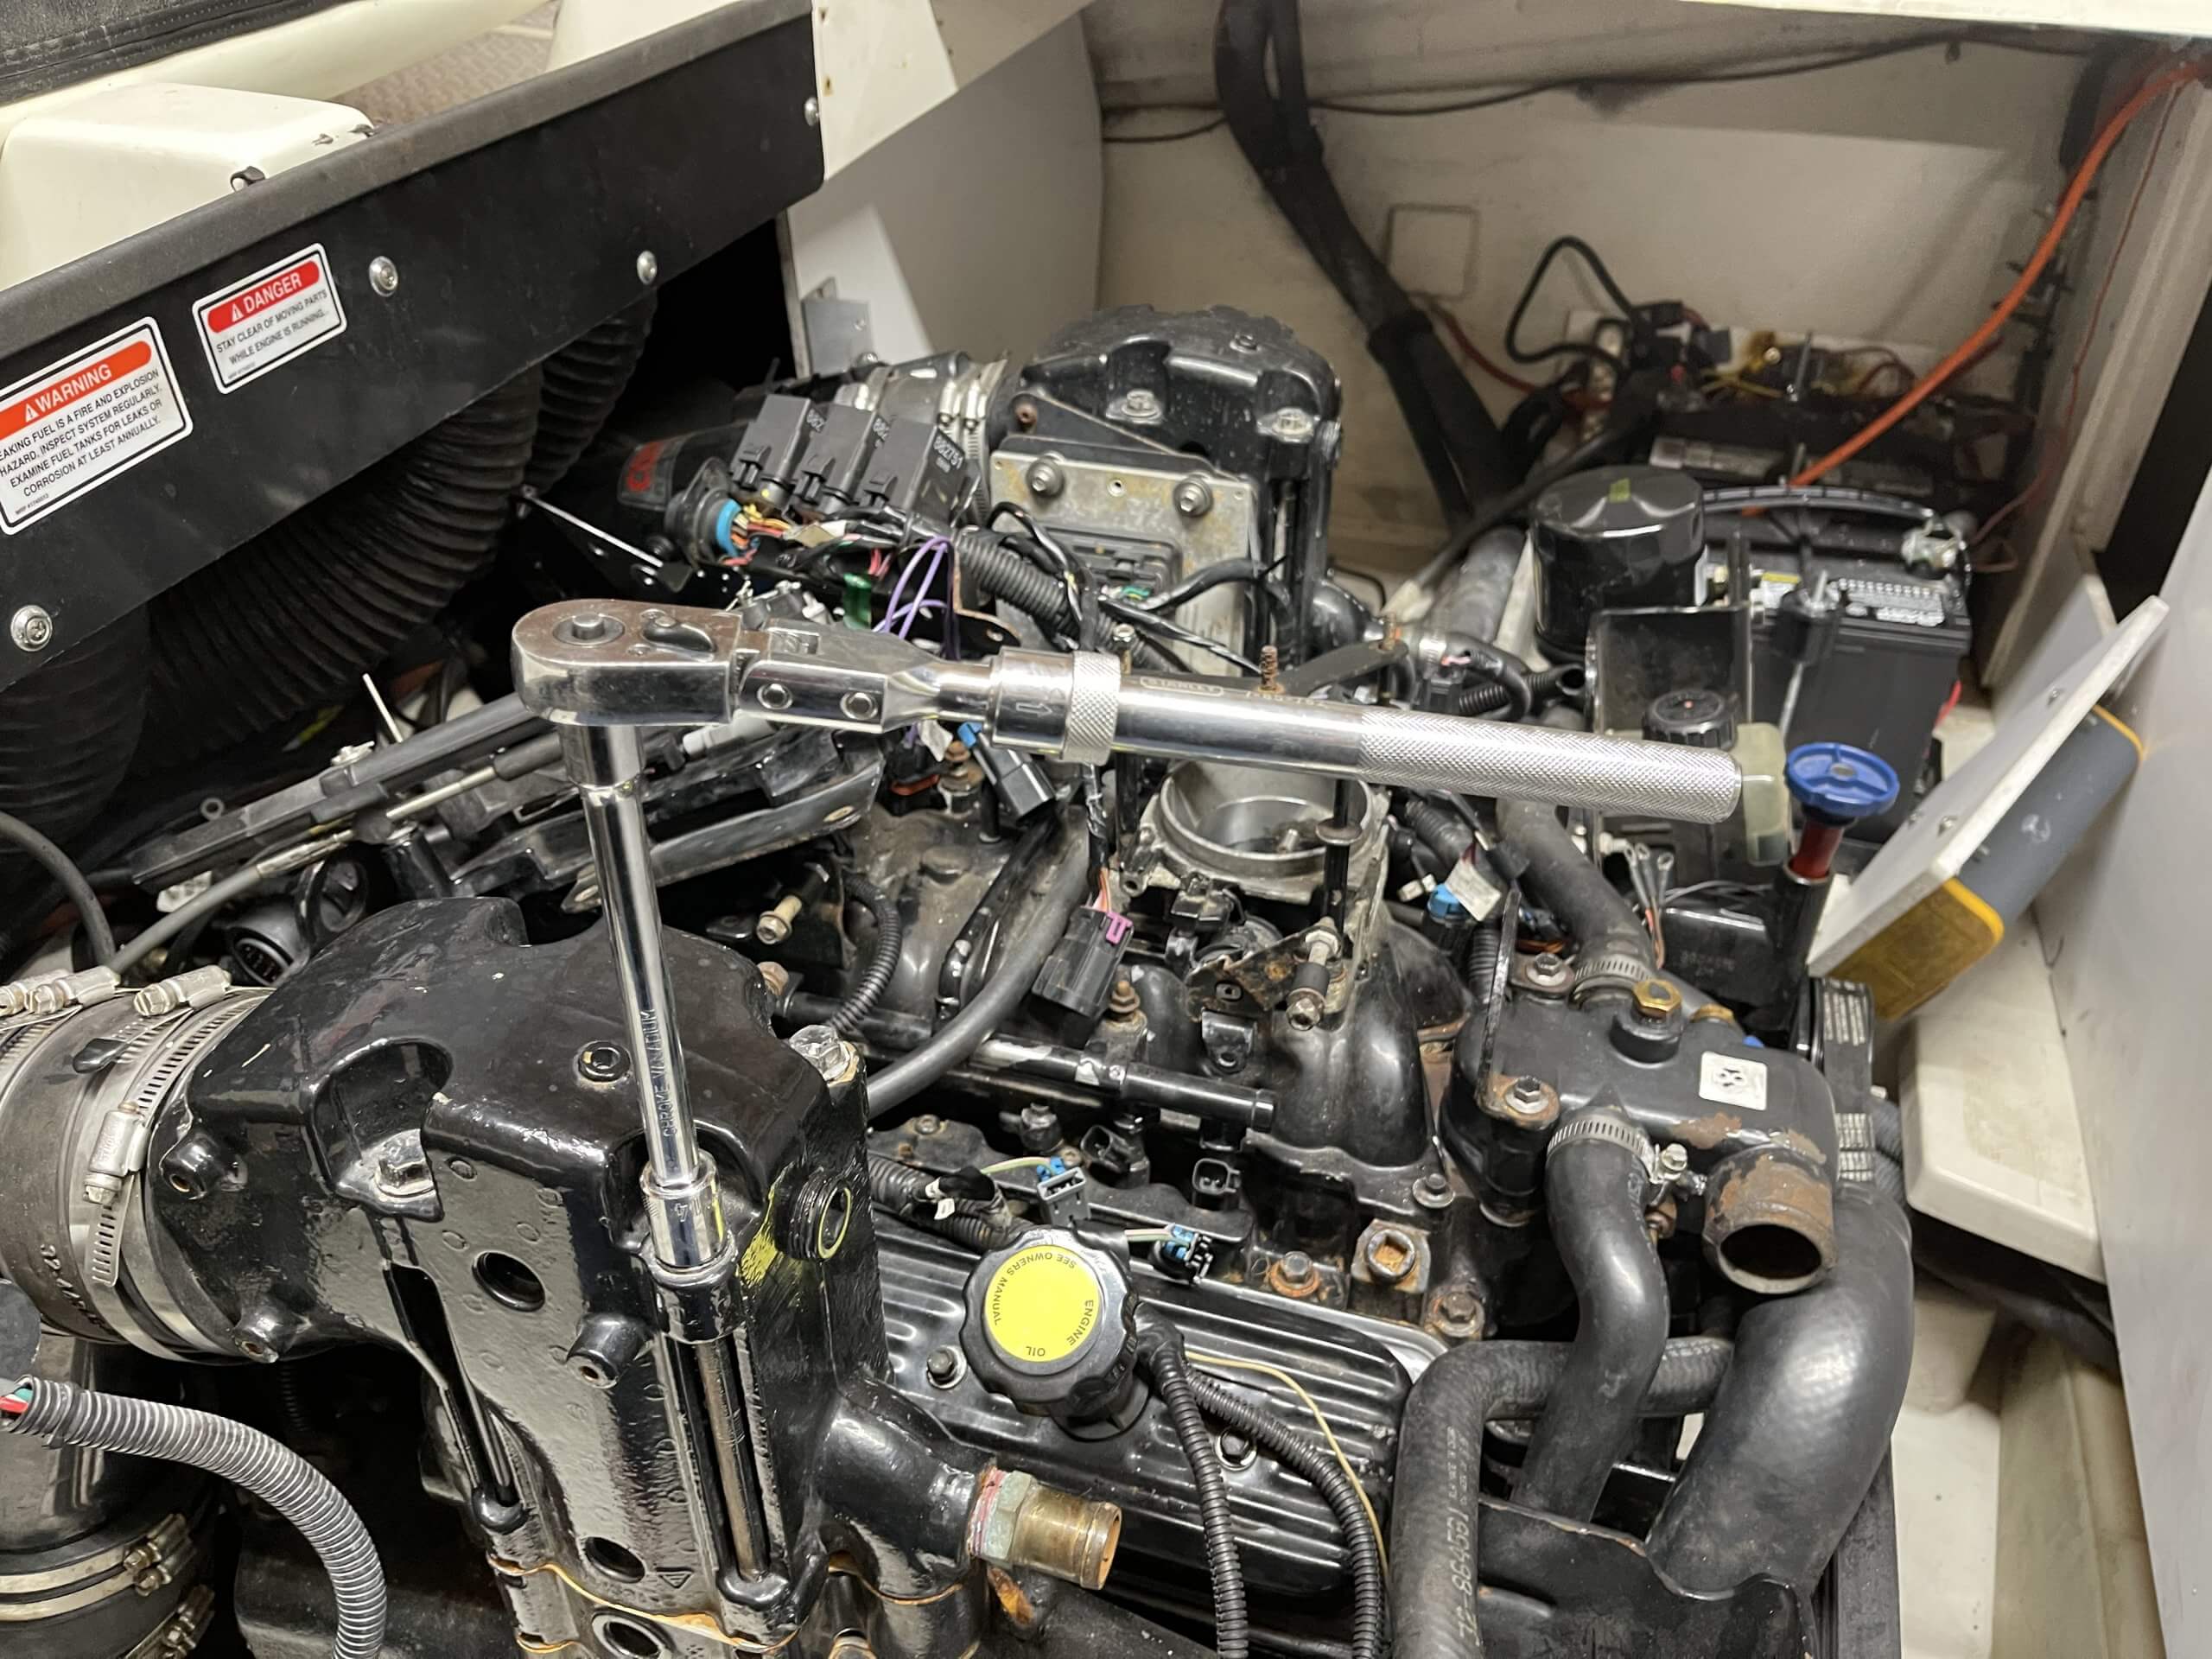
For now, start by removing the four fourteen millimeter bolts that attached the riser to the intake manifold. Additionally, Twist the riser and pull it away from the rubber boot. Lastly, Liftoff the riser and set it aside. Also, be aware, It’s really heavy or maybe it’s just me.
Starboard Exhaust Manifold Removal
Secondly, to remove the exhaust manifold to the block, you need to remove the four fourteen millimeter bolts. Please, keep in mind to remove the lower manifold water supply before removing the exhaust manifold. Lastly, pull the manifold away from the heads. Be careful it’s also very heavy and set this aside too.
Throttle Linkage & Interlock 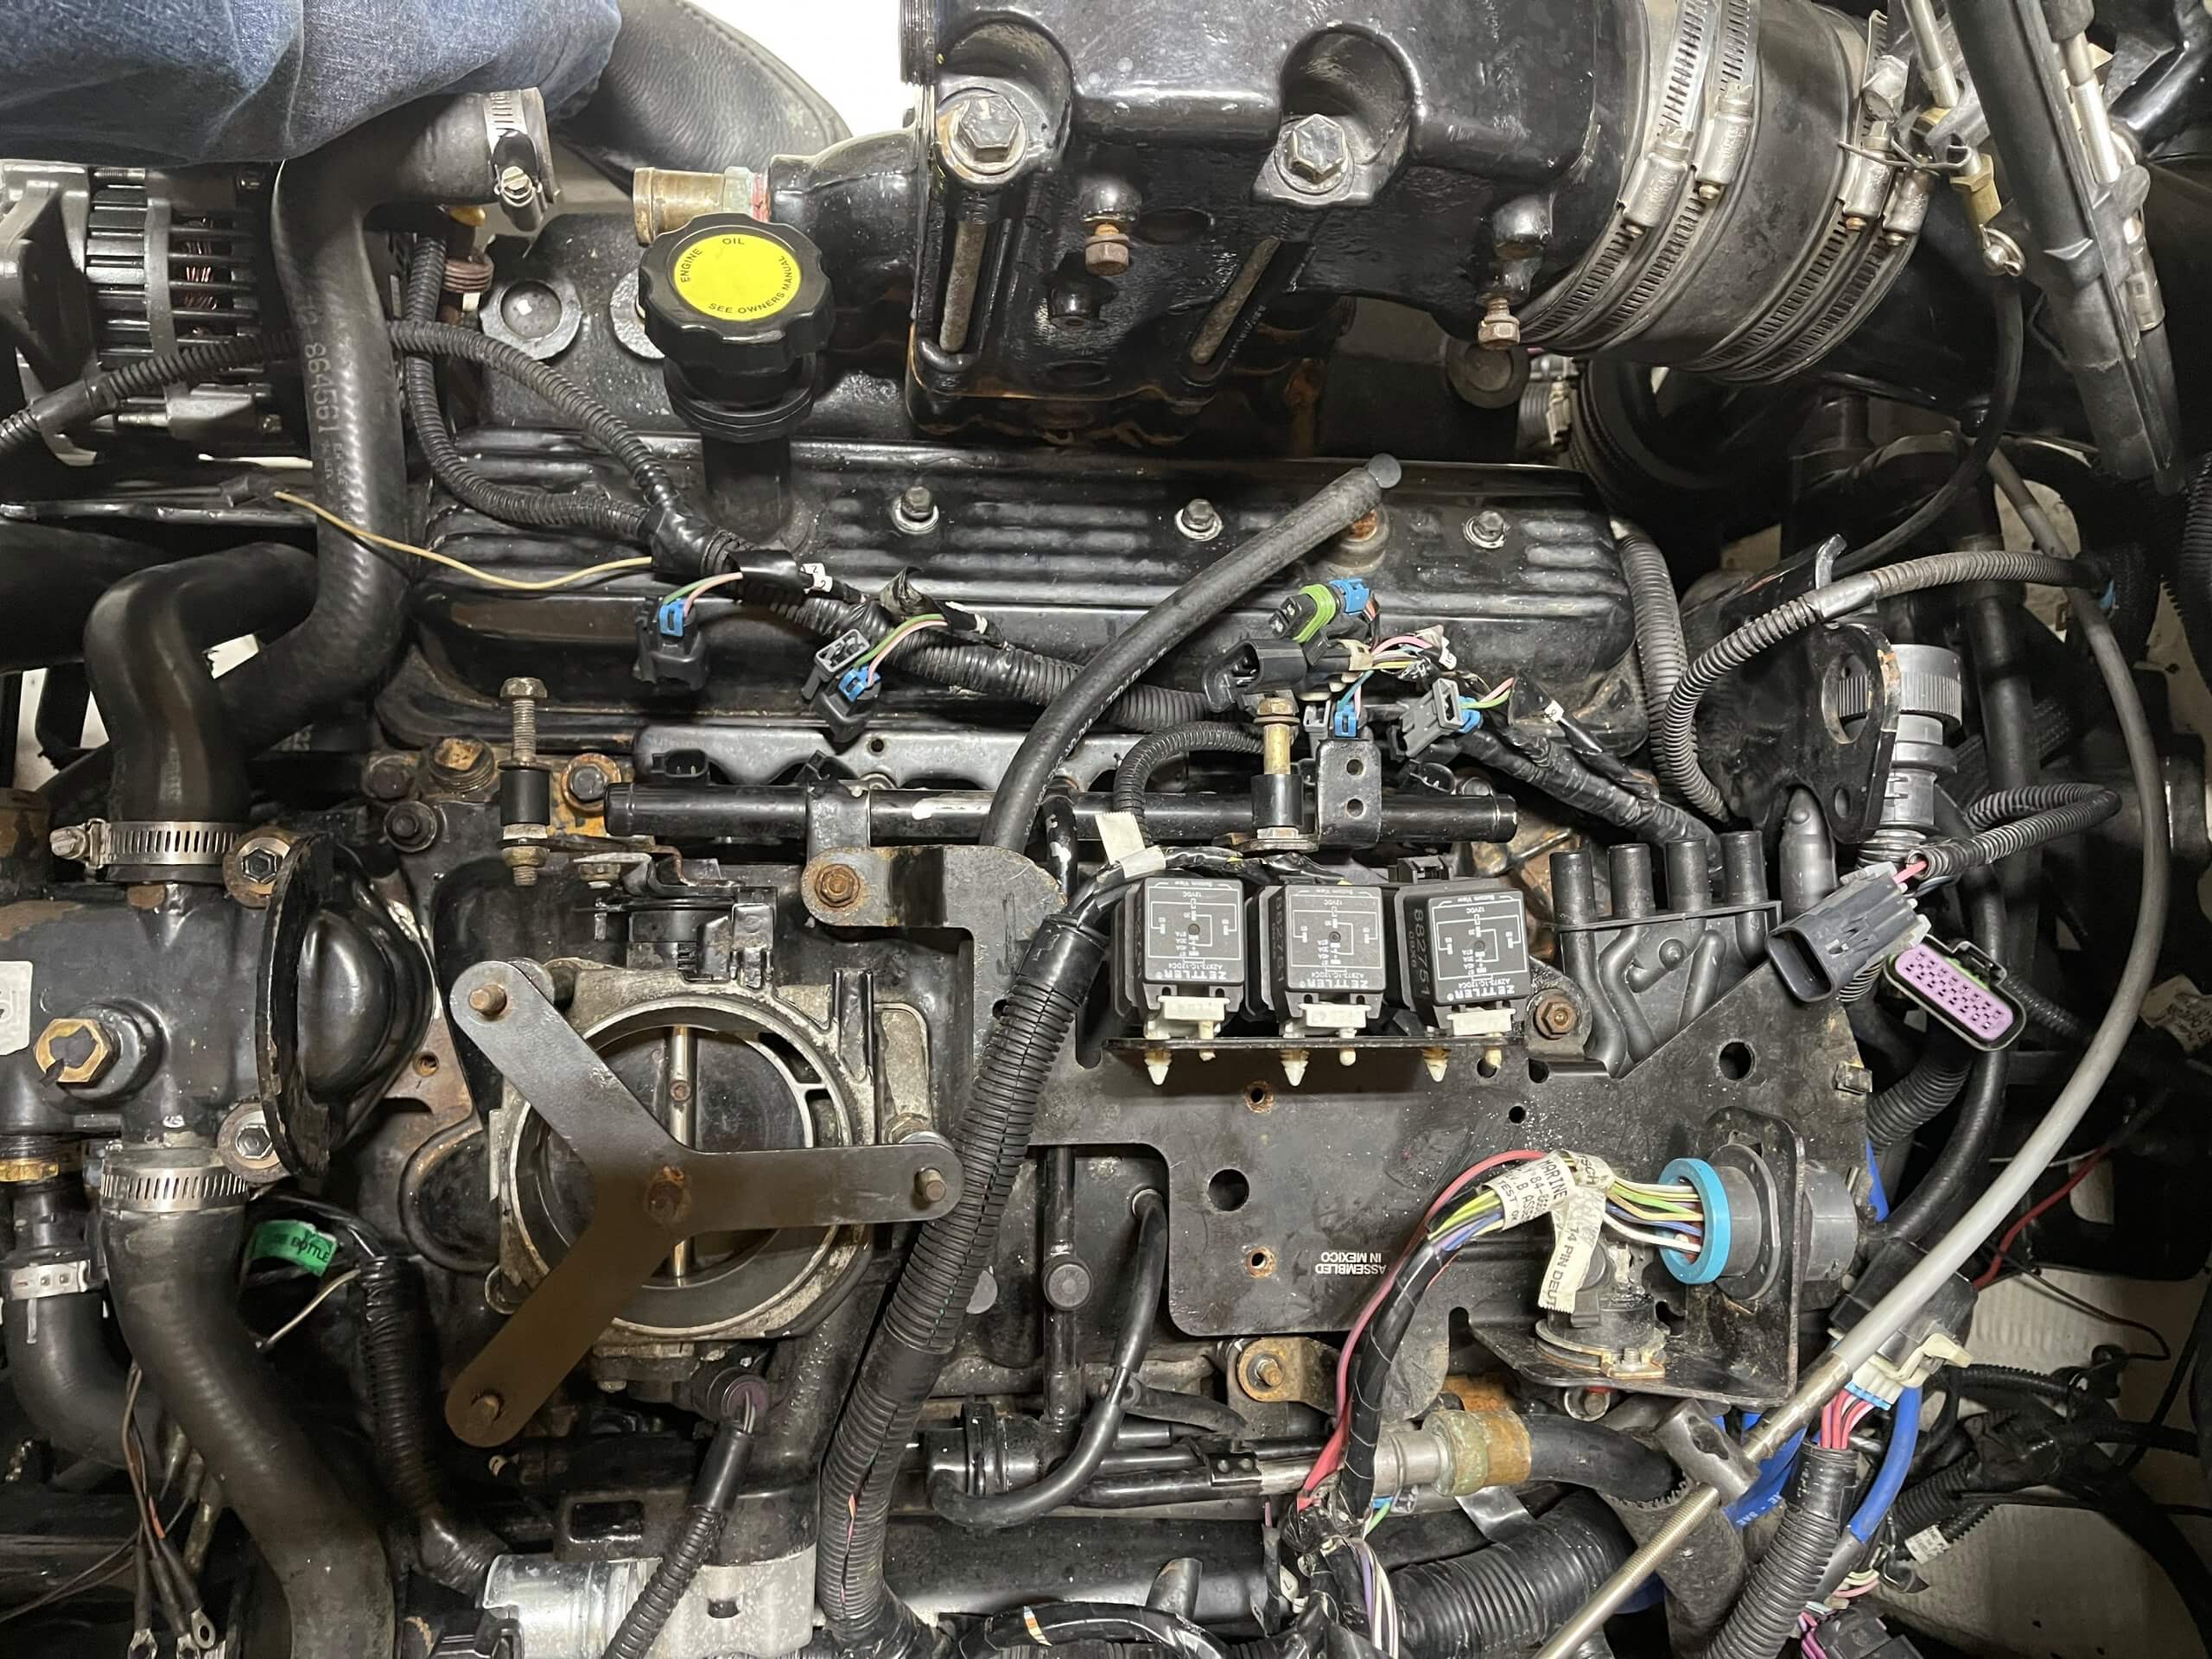
Throttle Linkage Removed 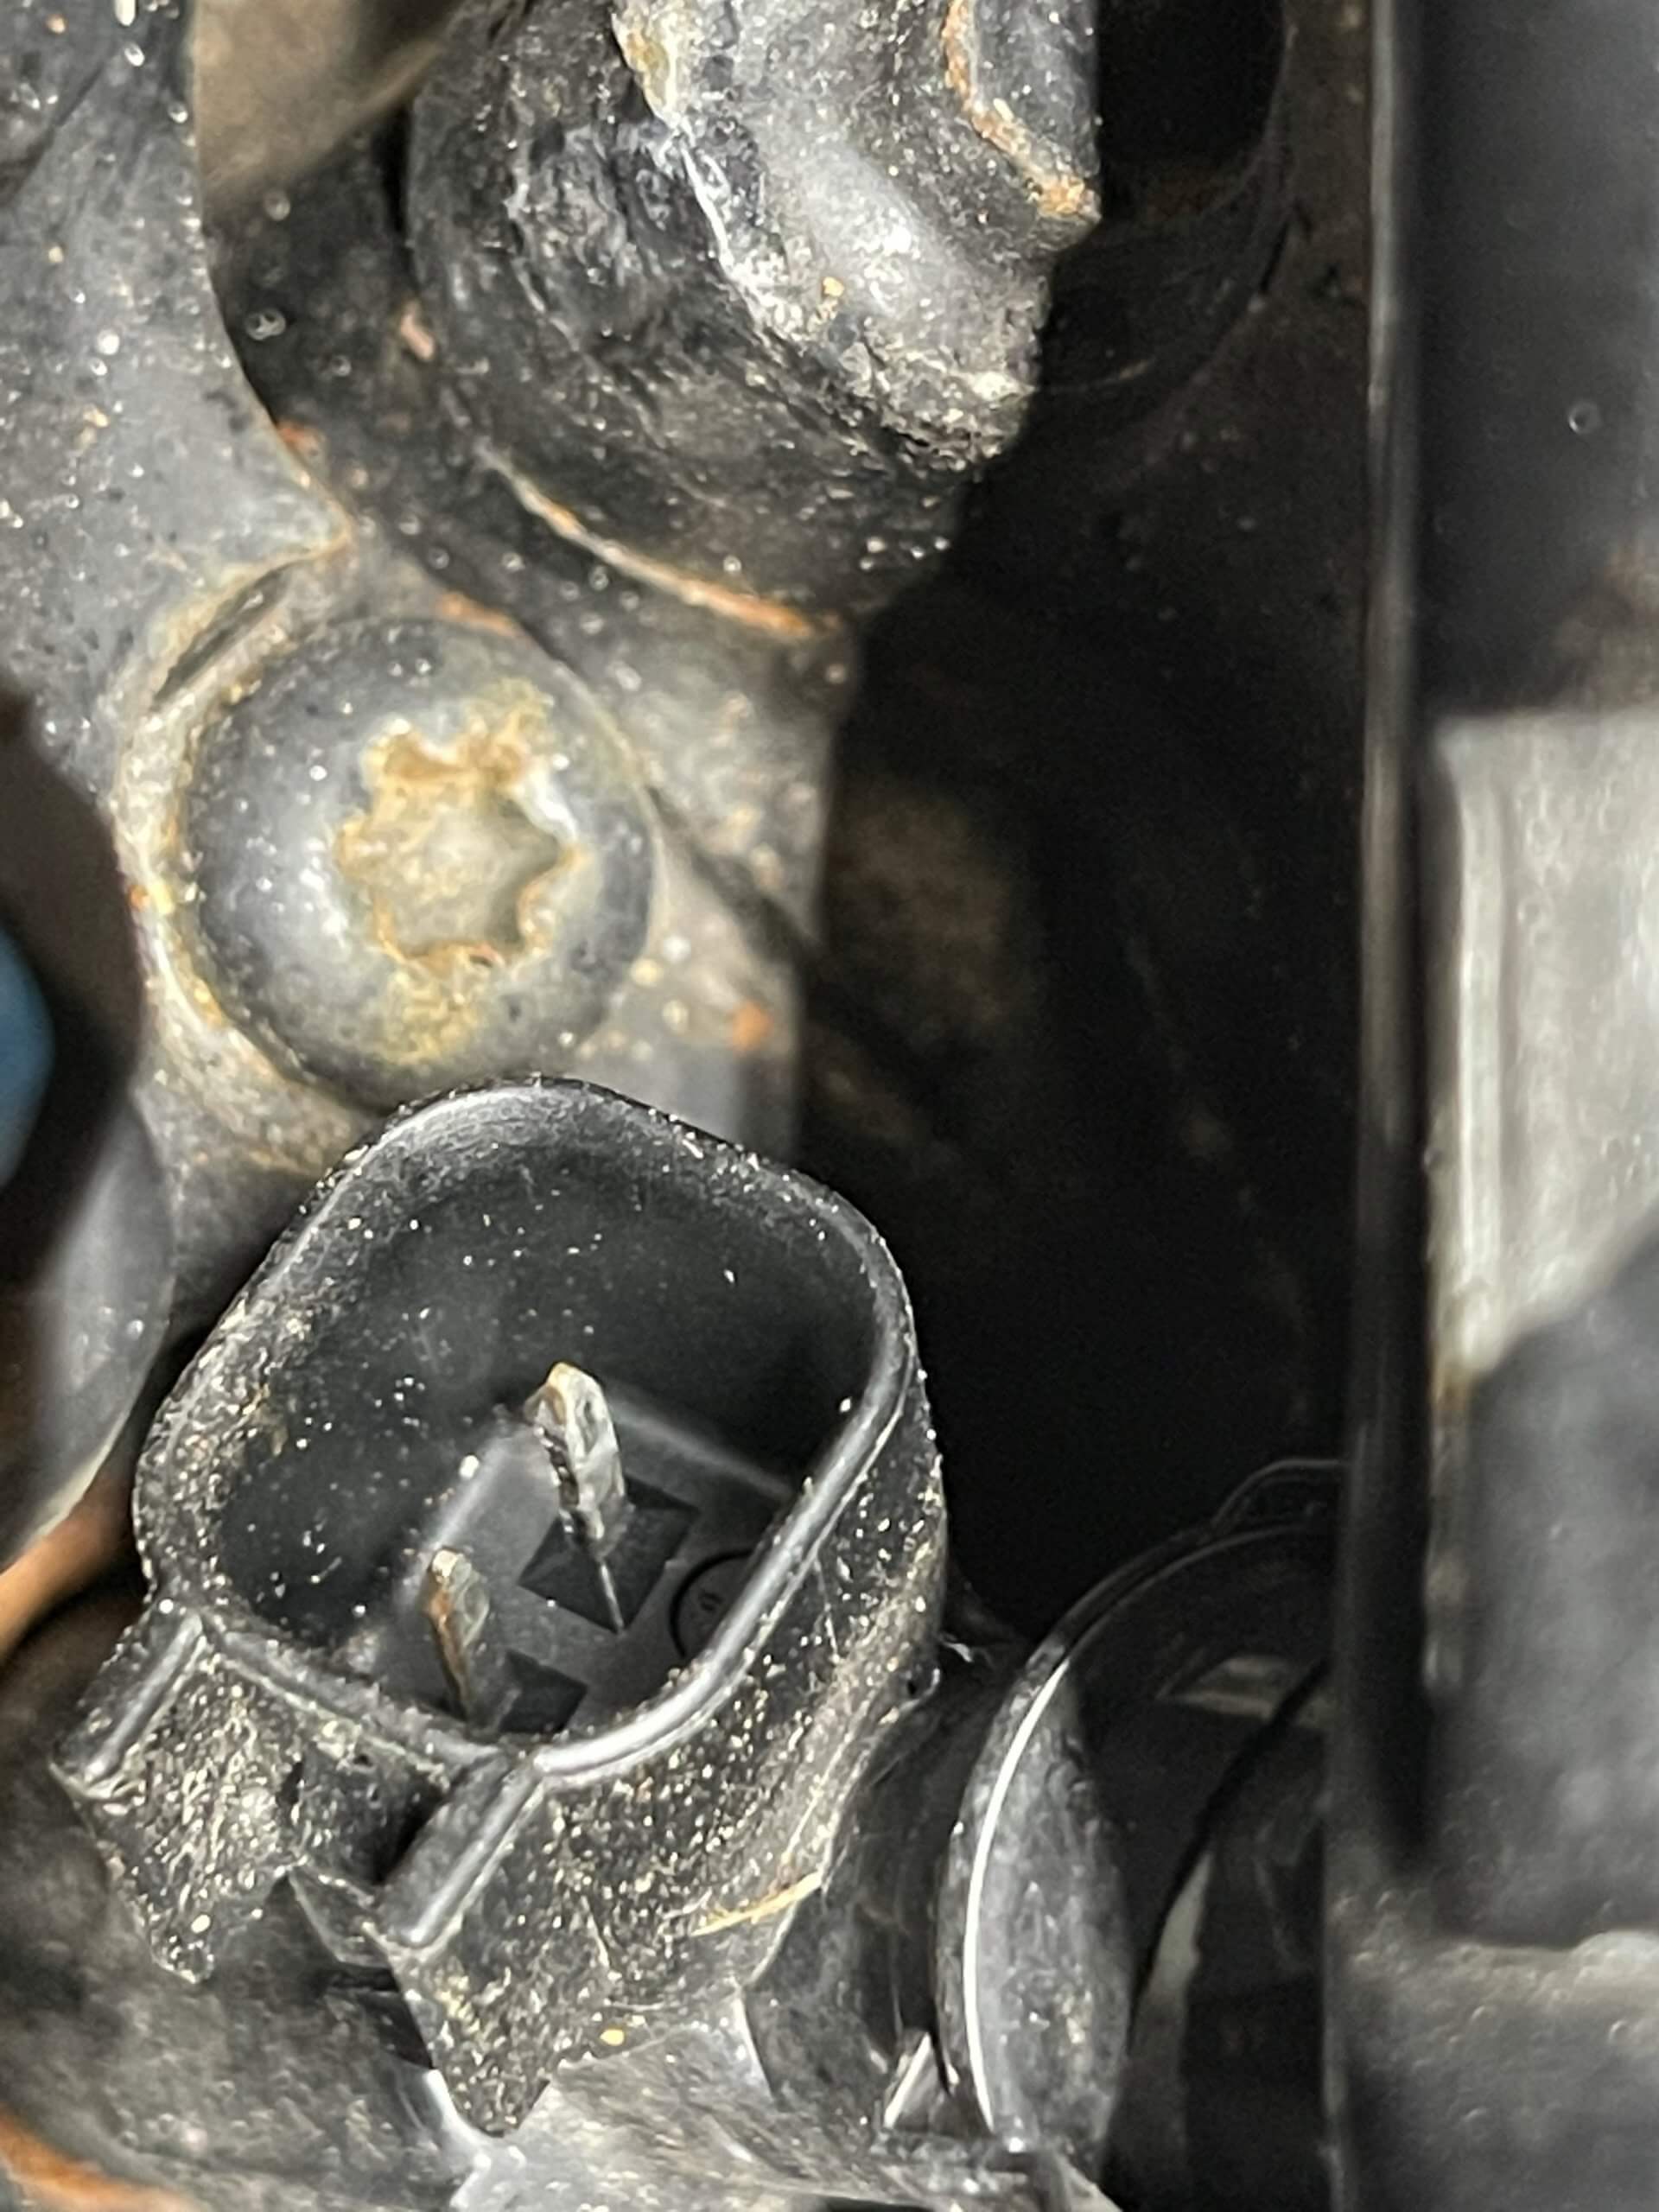
Missing Locking clip and corroded injector Connector
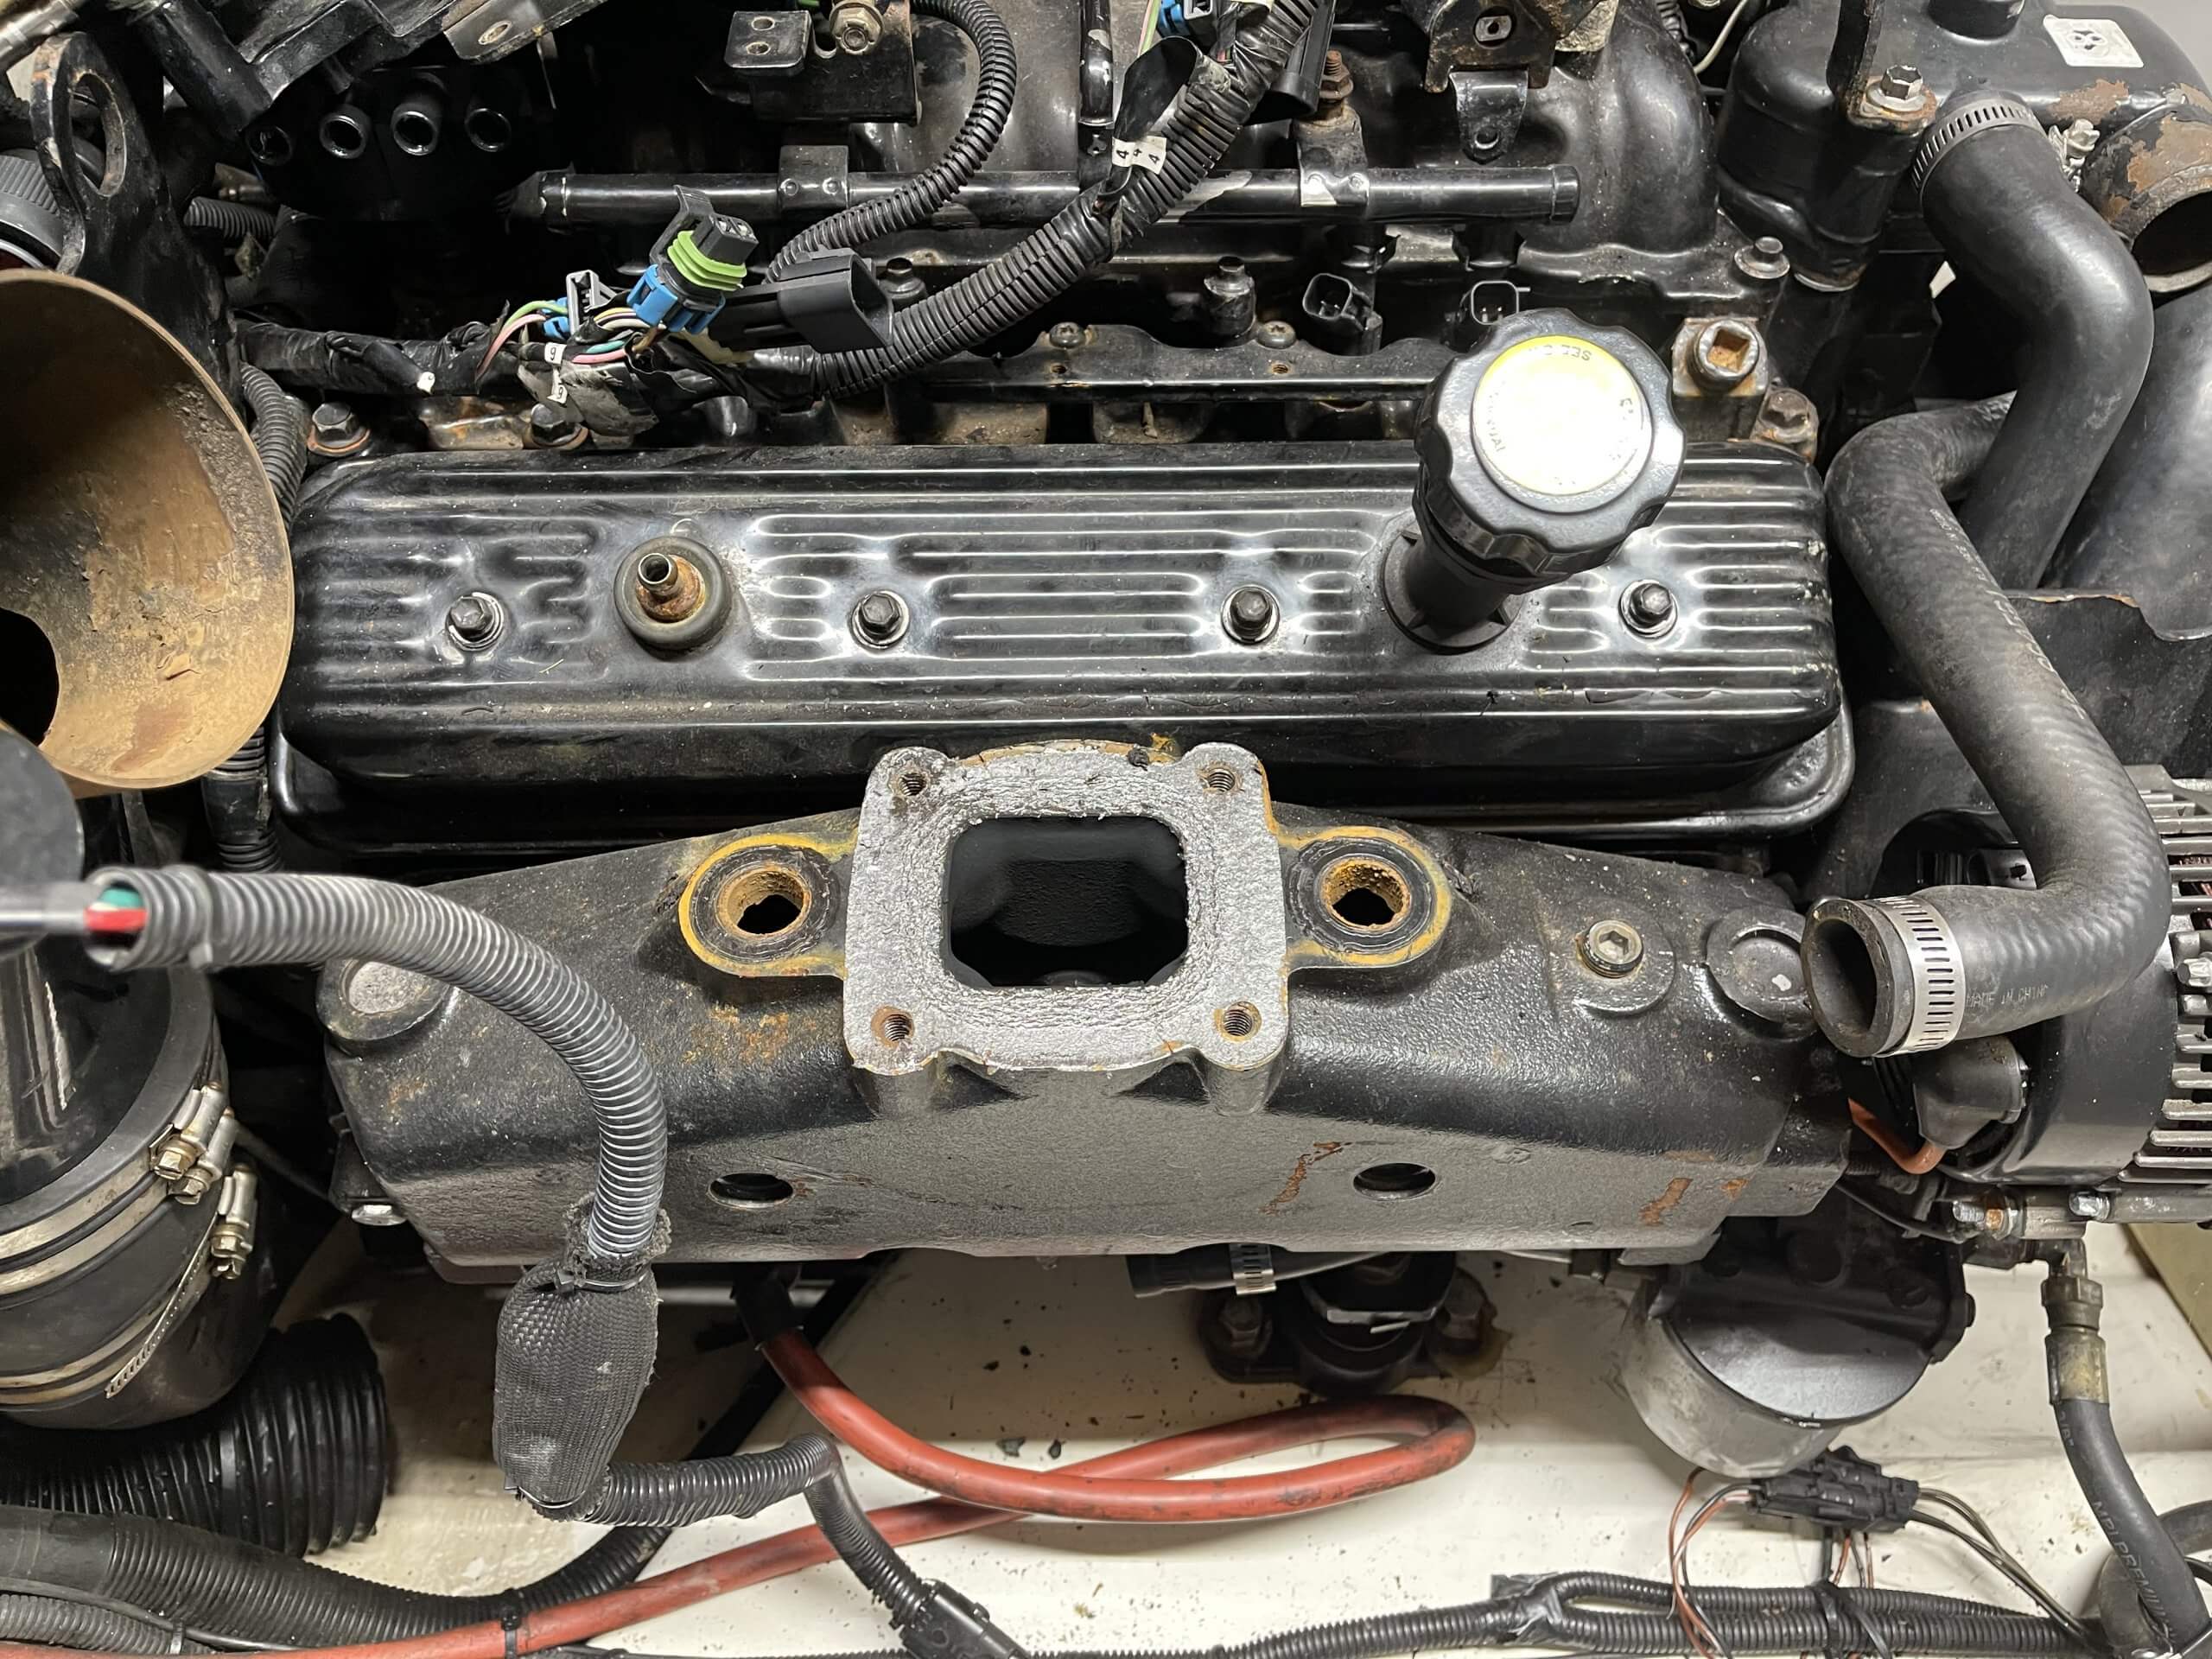
So when you are done it should look like this but with the valve cover on!
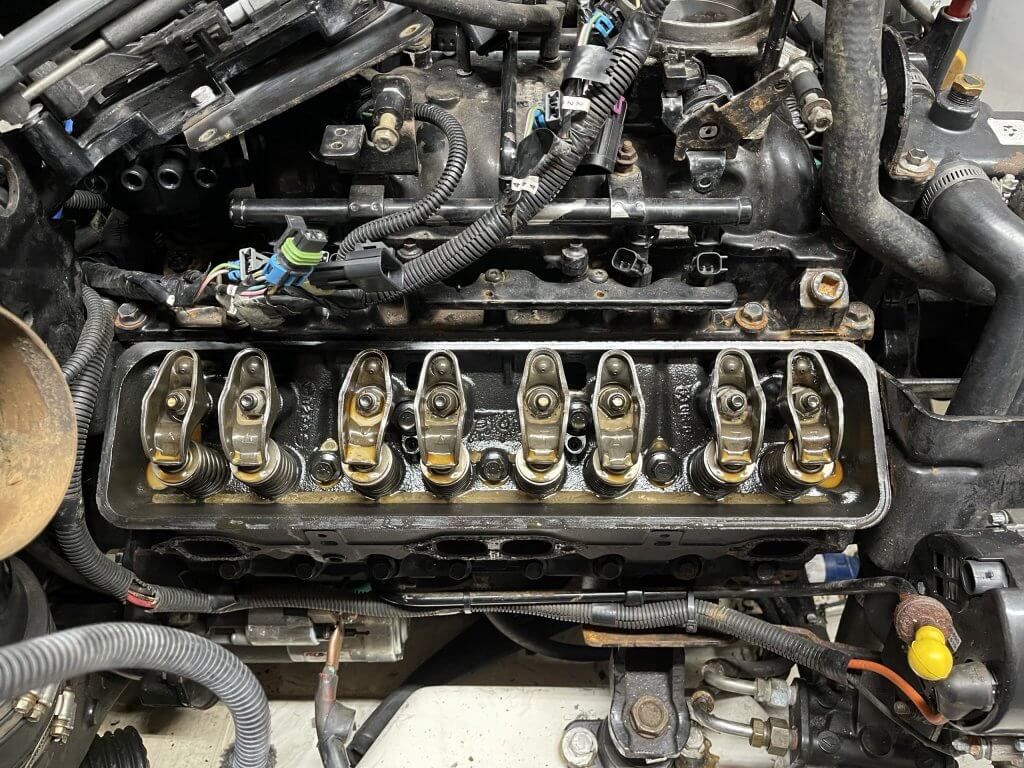
Generally, what we see here is not surprising at all. Additionally, with the valve cover removed I can see that there are water and oil in the top end. Also, I would have suspected this from the amount of oil and water that I drained out of the blocks. Of course removal of the valve cover was easy, getting it back on is a whole other matter. Lastly, I will put the starboard valve cover back on. I don’t add to my woes if the heads are good!
MerCruiser Intake Manifold Removal Process 5.0 – Step by Step
Part One – How Set Top Dead Center
This is one of the most important steps. Now, we need to set the engine at top dead center. Before we remove the Intake. now we need to line up the harmonic balancer mark to the crankshaft alignment pointer with the number one position on the distributor. Thus, this will save me time without having to remove the valve covers.
Please keep in mind this is my first attempt at a video showing the a specific set of process. Now keep in mind that this will be an evolutionary process so its not going to great or perfect. Secondly, I’m, going to break this into multiple parts. Please Subscribe and Like, Please!. Also provide feedback, so I know how to make these video’s better.
The first video is getting the engine to Top Dead Center and preparing to remove the distributor. We start by by taking off all the distributor wires. I’m not going to fret about what wire goes where at this time.
Part Two – How To Remove the Distributor
Next, with the motor at Top Dead Center. We will remove the distributor from the intake manifold.
Part Three – How to Remove the Port Riser
We are going to remove the port riser so we can get the intake manifold off. Instead of removing the ECU bracket on the riser we start by removing the two bolts that hold the ECU to the riser.
Part Four – How to remove the Lower Manifold Bolts
In summary, we have removed the port riser, ECU and got the fuel injectors disconnected from the fuel injector harness. It’s taken a while to get all these ancillary accessories off.
Part Five – How to Remove the Upper Intake Manifold
With the Port Riser Removed, we will remove the throttle body and fuel injectors from the fuel injector rail. We have disconnected all the sensors and vacuum hoses. This is a Mercury Marine two piece manifold. I’m hard pressed to find anything that will replace this item. Mine is heavily covered in rust and the paint is flaking off. I did not get a video of the actual removal of the Fuel Rails, Upper Intake and the throttle body because of logistics.
All The Bolts Removed From the Upper Intake 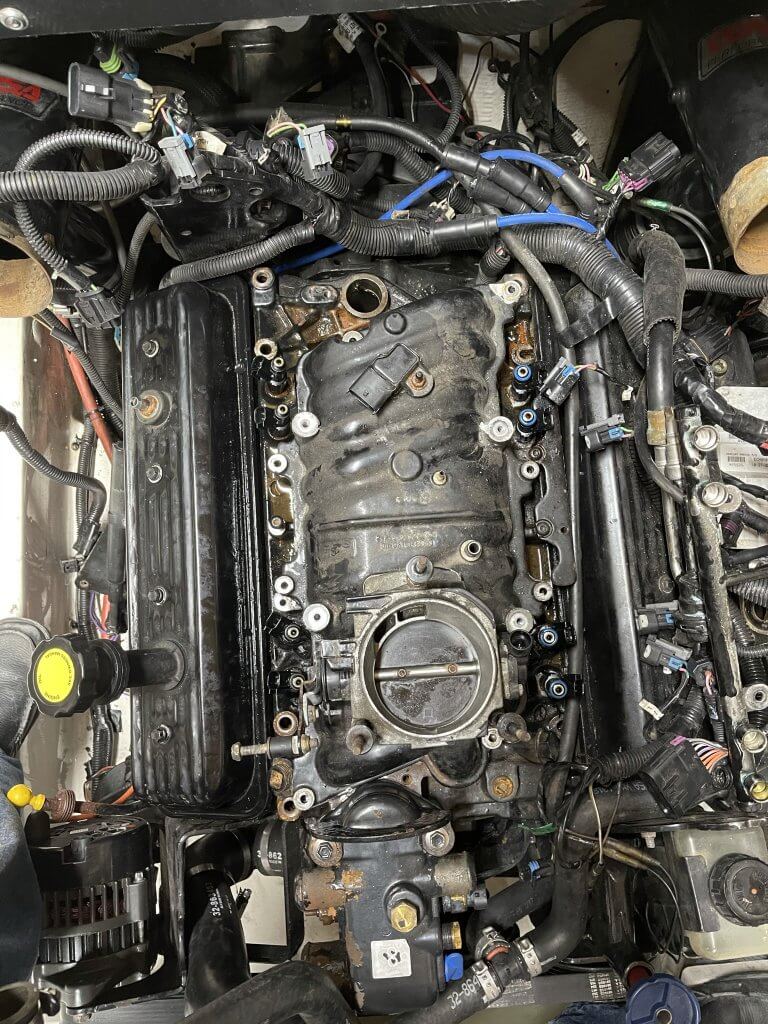
Fuel Rails Removed 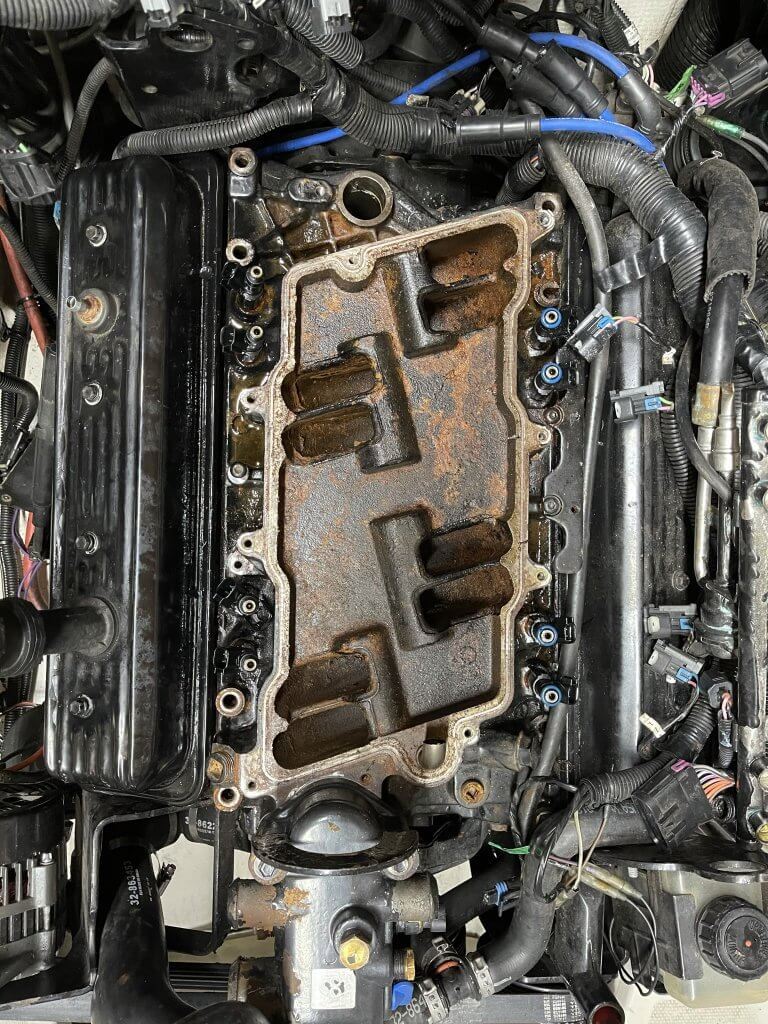
Upper Intake Removed
Part Six – How to Remove the Lower Intake Manifold
With the upper intake manifold off I found out I missed a bolt on the port side of the manifold. I too take a razor and carefully sliced through the RTV sealant on the front of the manifold where it attaches to the lifter valley. There is a space between the head and the intake manifold. Pry it up, be careful as to not score up the surfaces.