So we are going to get an opportunity to work on a 2014 Yamaha AR192. This opportunity showed up on my doorstep thanks to Jimmy. The boat does not run, it cranks but does not start. It definitely will not start with the plugs out and one missing. This is probably the newest boat I’ve had an opportunity to work on. It came to me to work on because the owner wanted a second opinion. Additionally, it’s very hot, almost one hundred degrees. It’s going to make working on this boat miserable.
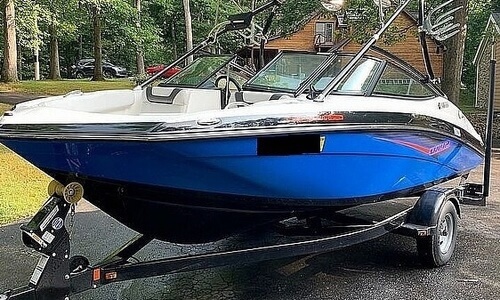
2014 Yamaha AR192 – History
To start, according to the shop that worked on the 2014 Yamaha AR192 last, the diagnosis was it has low compression in all the cylinders. I did a compression test, and it wasn’t pretty but not a surprise. When the boat went to the other shop it was barely running. Now supposedly, it does not. The symptoms were it would not idle, but would run if given throttle. Then it just continued to get worse.
As a side note, when stuff starts acting up, pushing it harder will just make the situation much worse. Take it from experience. If it won’t idle give it a little gas, if it dies then pull it. If it won’t run wide open, then back it down.
2014 Yamaha AR192 – Compression Test
It subsequently will not run now. It’s not a mystery as to why it won’t now. No single cylinder is within spec. Now understand this may be off because the engine is cold.
- #1 Cylinder – 34.5 / 71 Minimum
- #2 Cylinder- 59.0 / 71 Minimum
- #3 Cylinder – 58.5/ 71 Minimum
- #4 Cylinder- 68.5 /71 Minimum
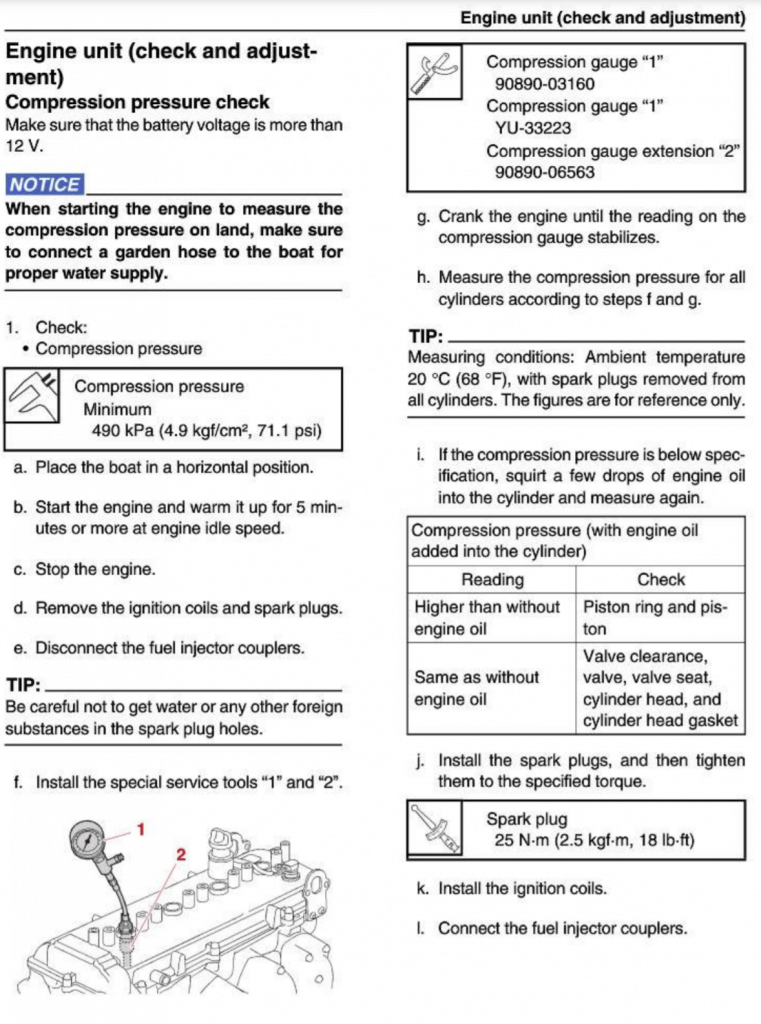
So I put some oil into Cylinder #2, and the compression came up to 65 PSI. Secondly, that is about ten percent off from the minimum of what it should be. I believe this should be around 119 PSI from what I read. There can be a multitude of things affecting the compression. Those are valves, rings at a minimum. The next step before I pull the valve cover is to do an inspection of the cylinder. Keep in mind that this is a flat tappet motor that uses shims under a puck. Much like my Polaris. The maintenance interval is specified in the manual. Every two years or 200 hours. the motor has 207. I have a borescope it may help. It’s not High Definition, but it may give me insight into what going on in the cylinders.
Cylinder Inspection
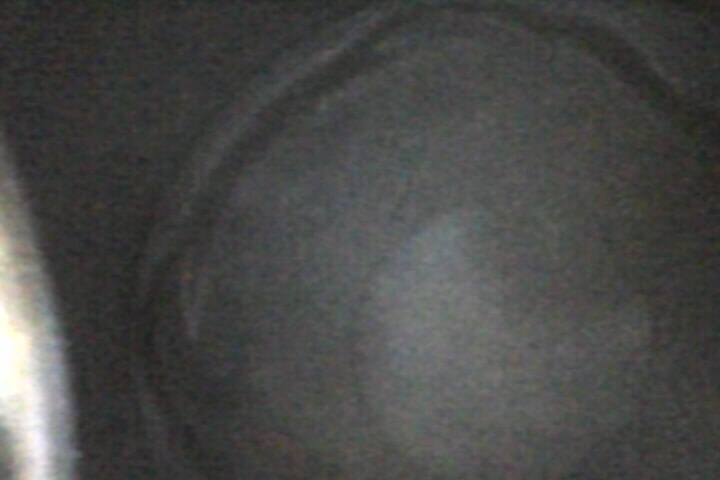
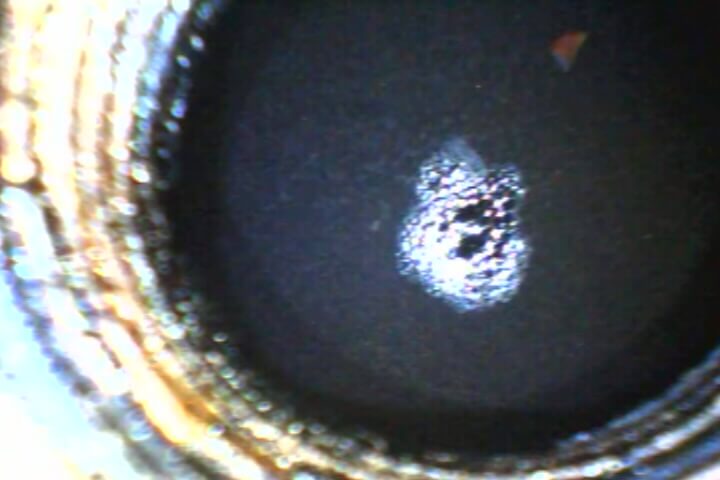
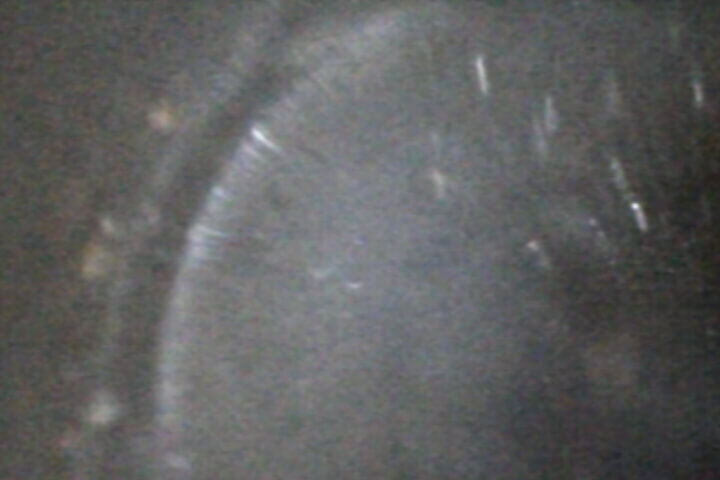
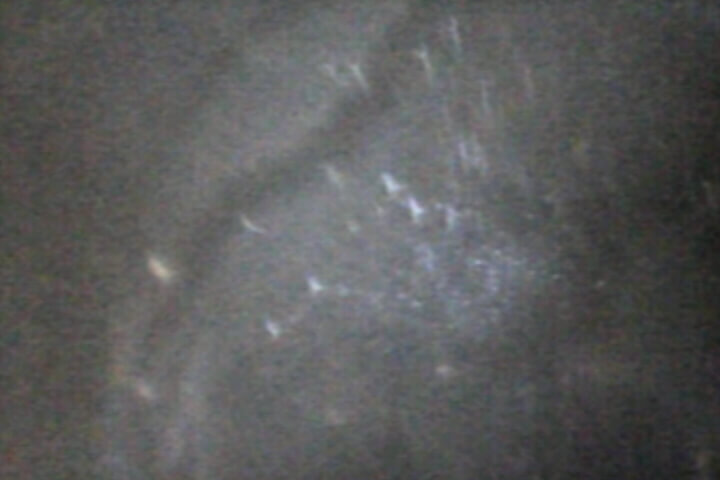
Next, troubleshoot. I proceeded by inspecting the cylinders with a Borescope. There was still oil in the number two cylinder, so I did not see much. I’ve put the Standard Definition photo’s in a slide show below. It’s hard to tell what is going on with the quality of the pictures. But What I can tell is Cylinder Number One and Four seem to have some sort of washing from coolant/water. It may be as simple as a bad Head Gasket, but I don’t see water in the oil. It’s really hard to tell with this low resolution. As a result, I ordered a high-definition Borescope It will be here Tuesday. I will update the slideshow if they turn to be of better quality. lastly, I also need to look to see if I have an inspection mirror for my borescope.
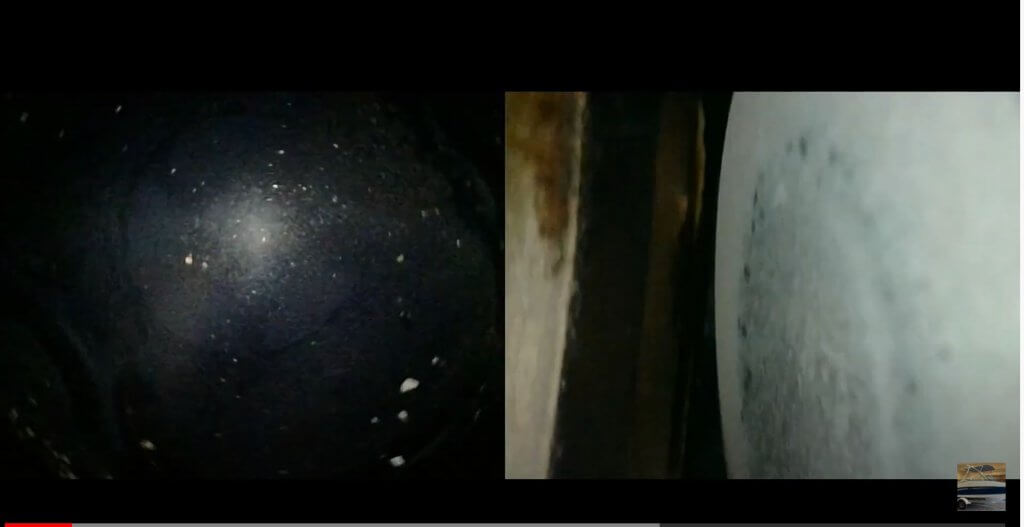
So we got a better inspection camera. Its has two cameras. One is foreword facing and a side camera. The Quality is much better. I put together a quick video of what we saw in Cylinders One, Three, and Four. Keep in mind the Right window is the side-facing camera and the left is the forward-facing camera.
So it appears that only cylinder three looks normal. The rest looks like they have ingested water or something else is going on. That could be from a bad head gasket to pure water ingestion from the intake. There was oil in the bottom of the boat. There also was a lot of water in the boat too. Additionally, that could be from it being outside, which it is not as of now.
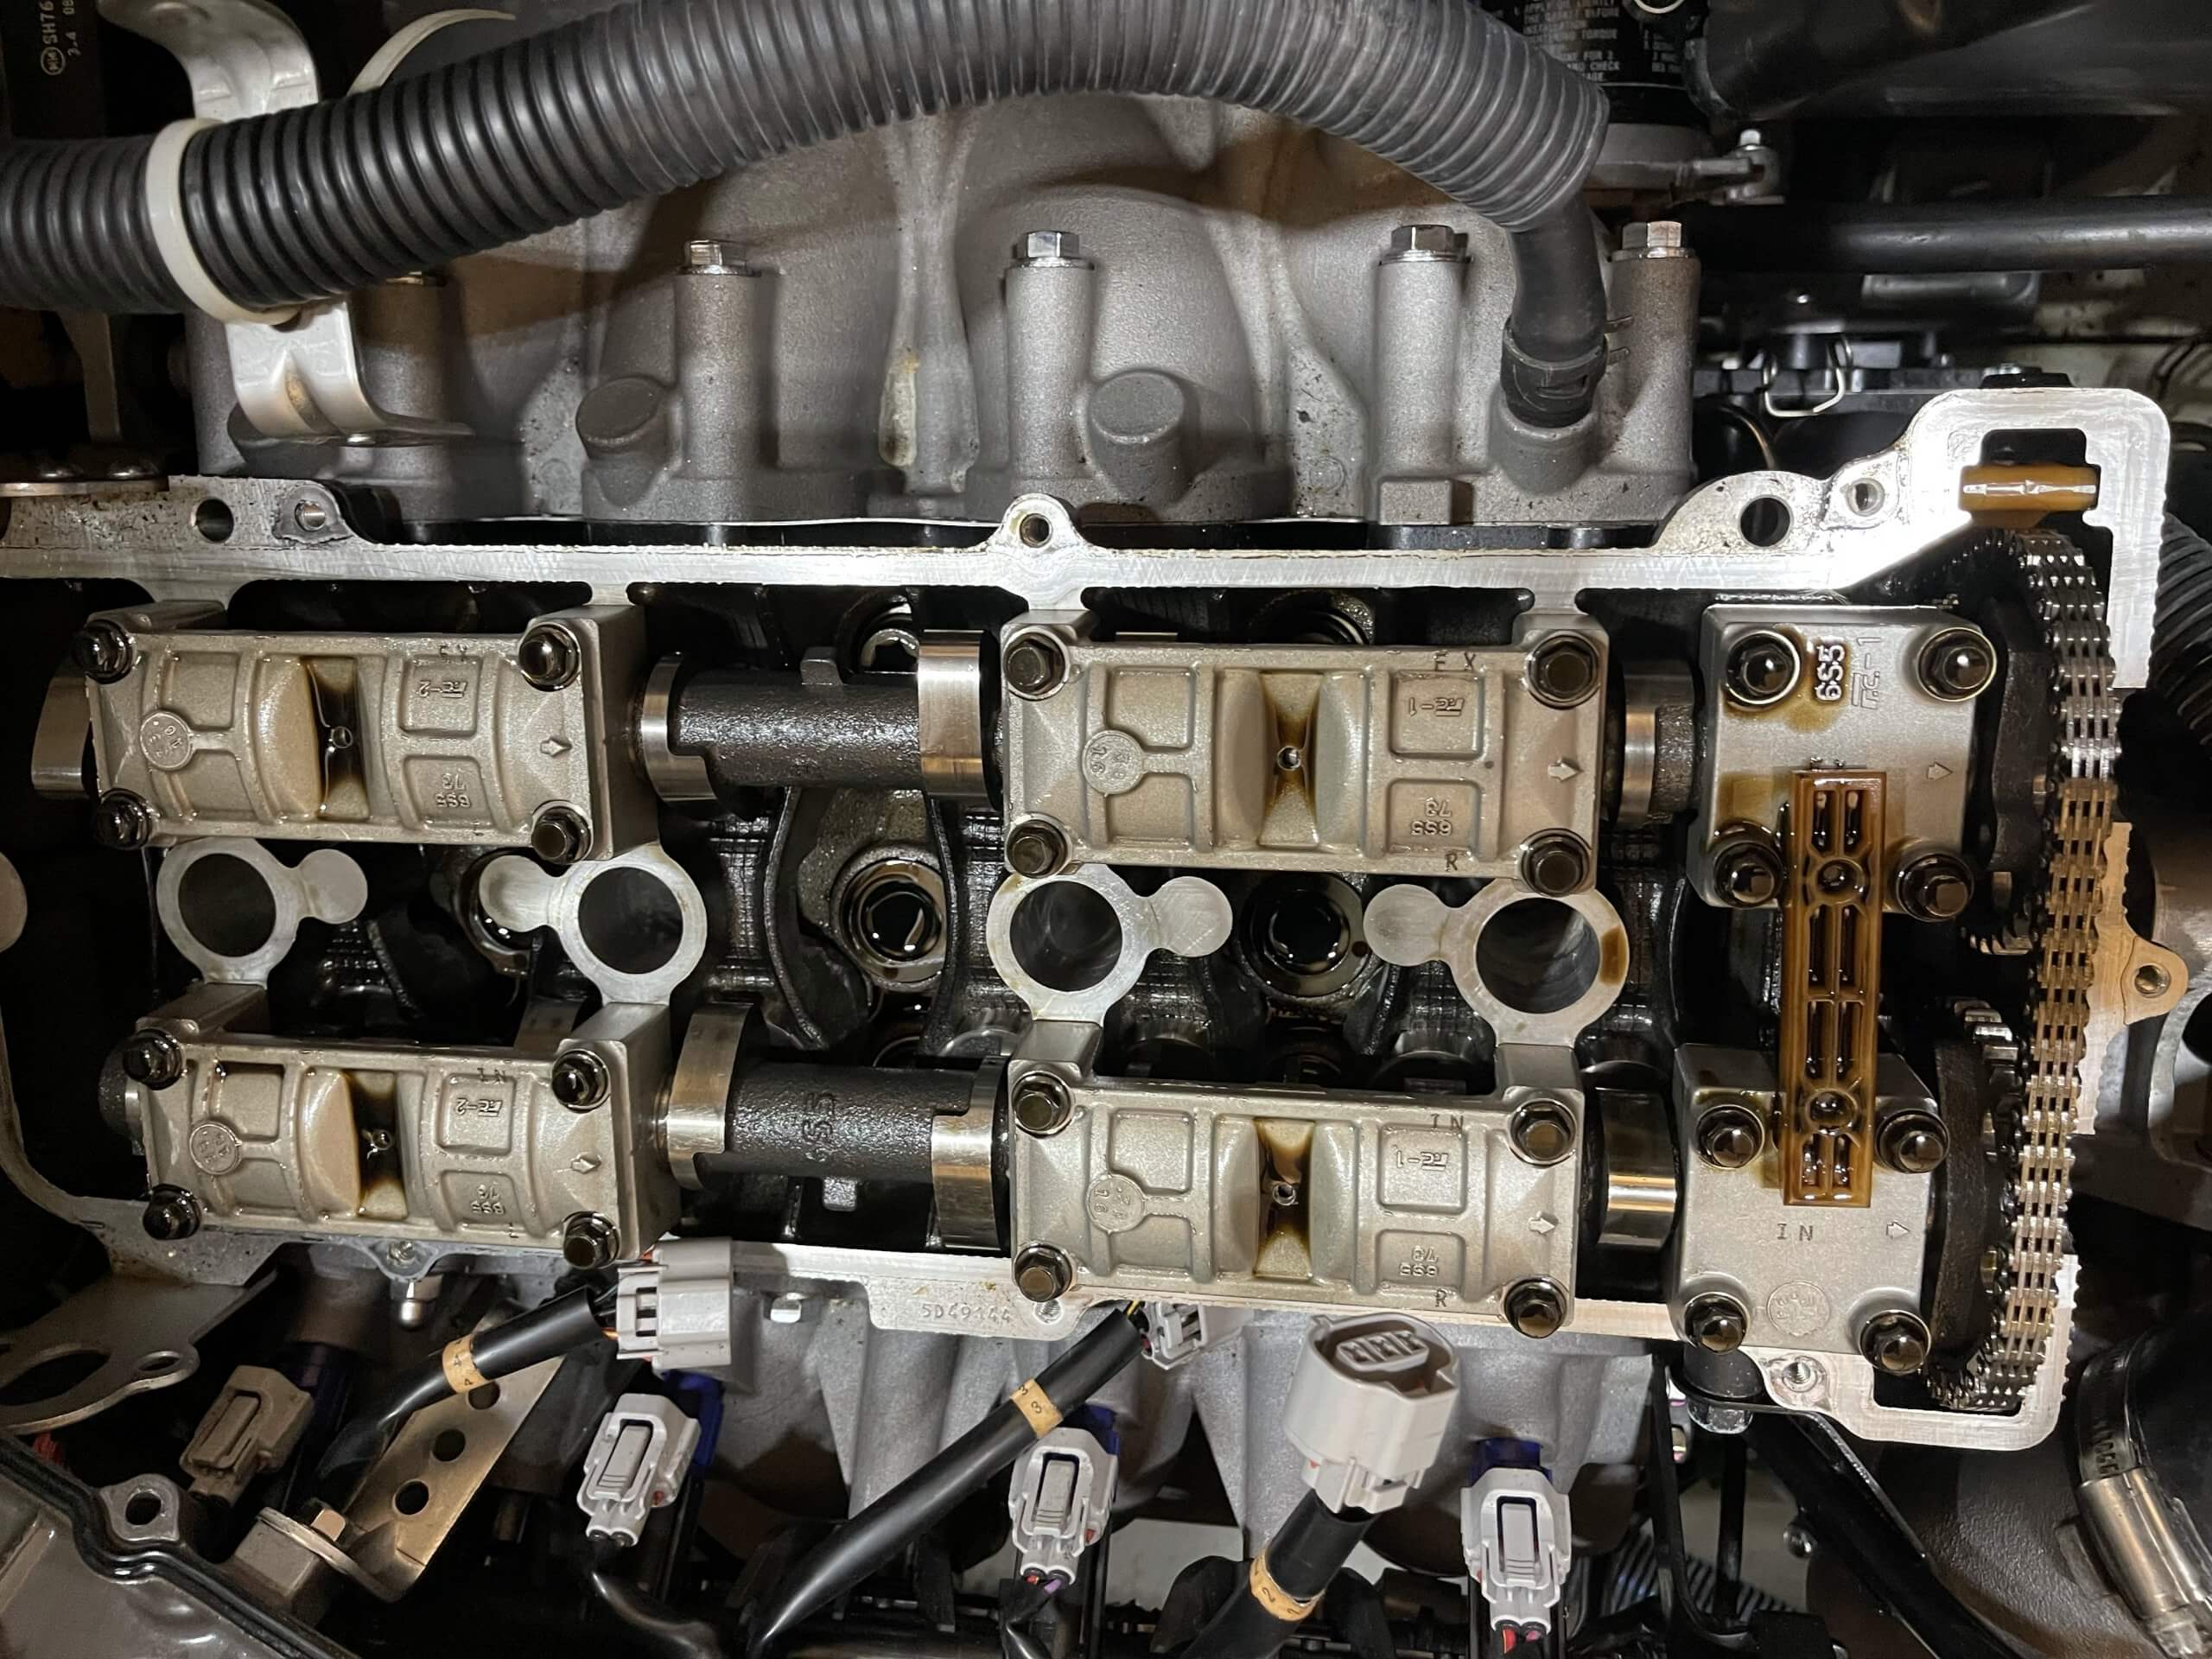
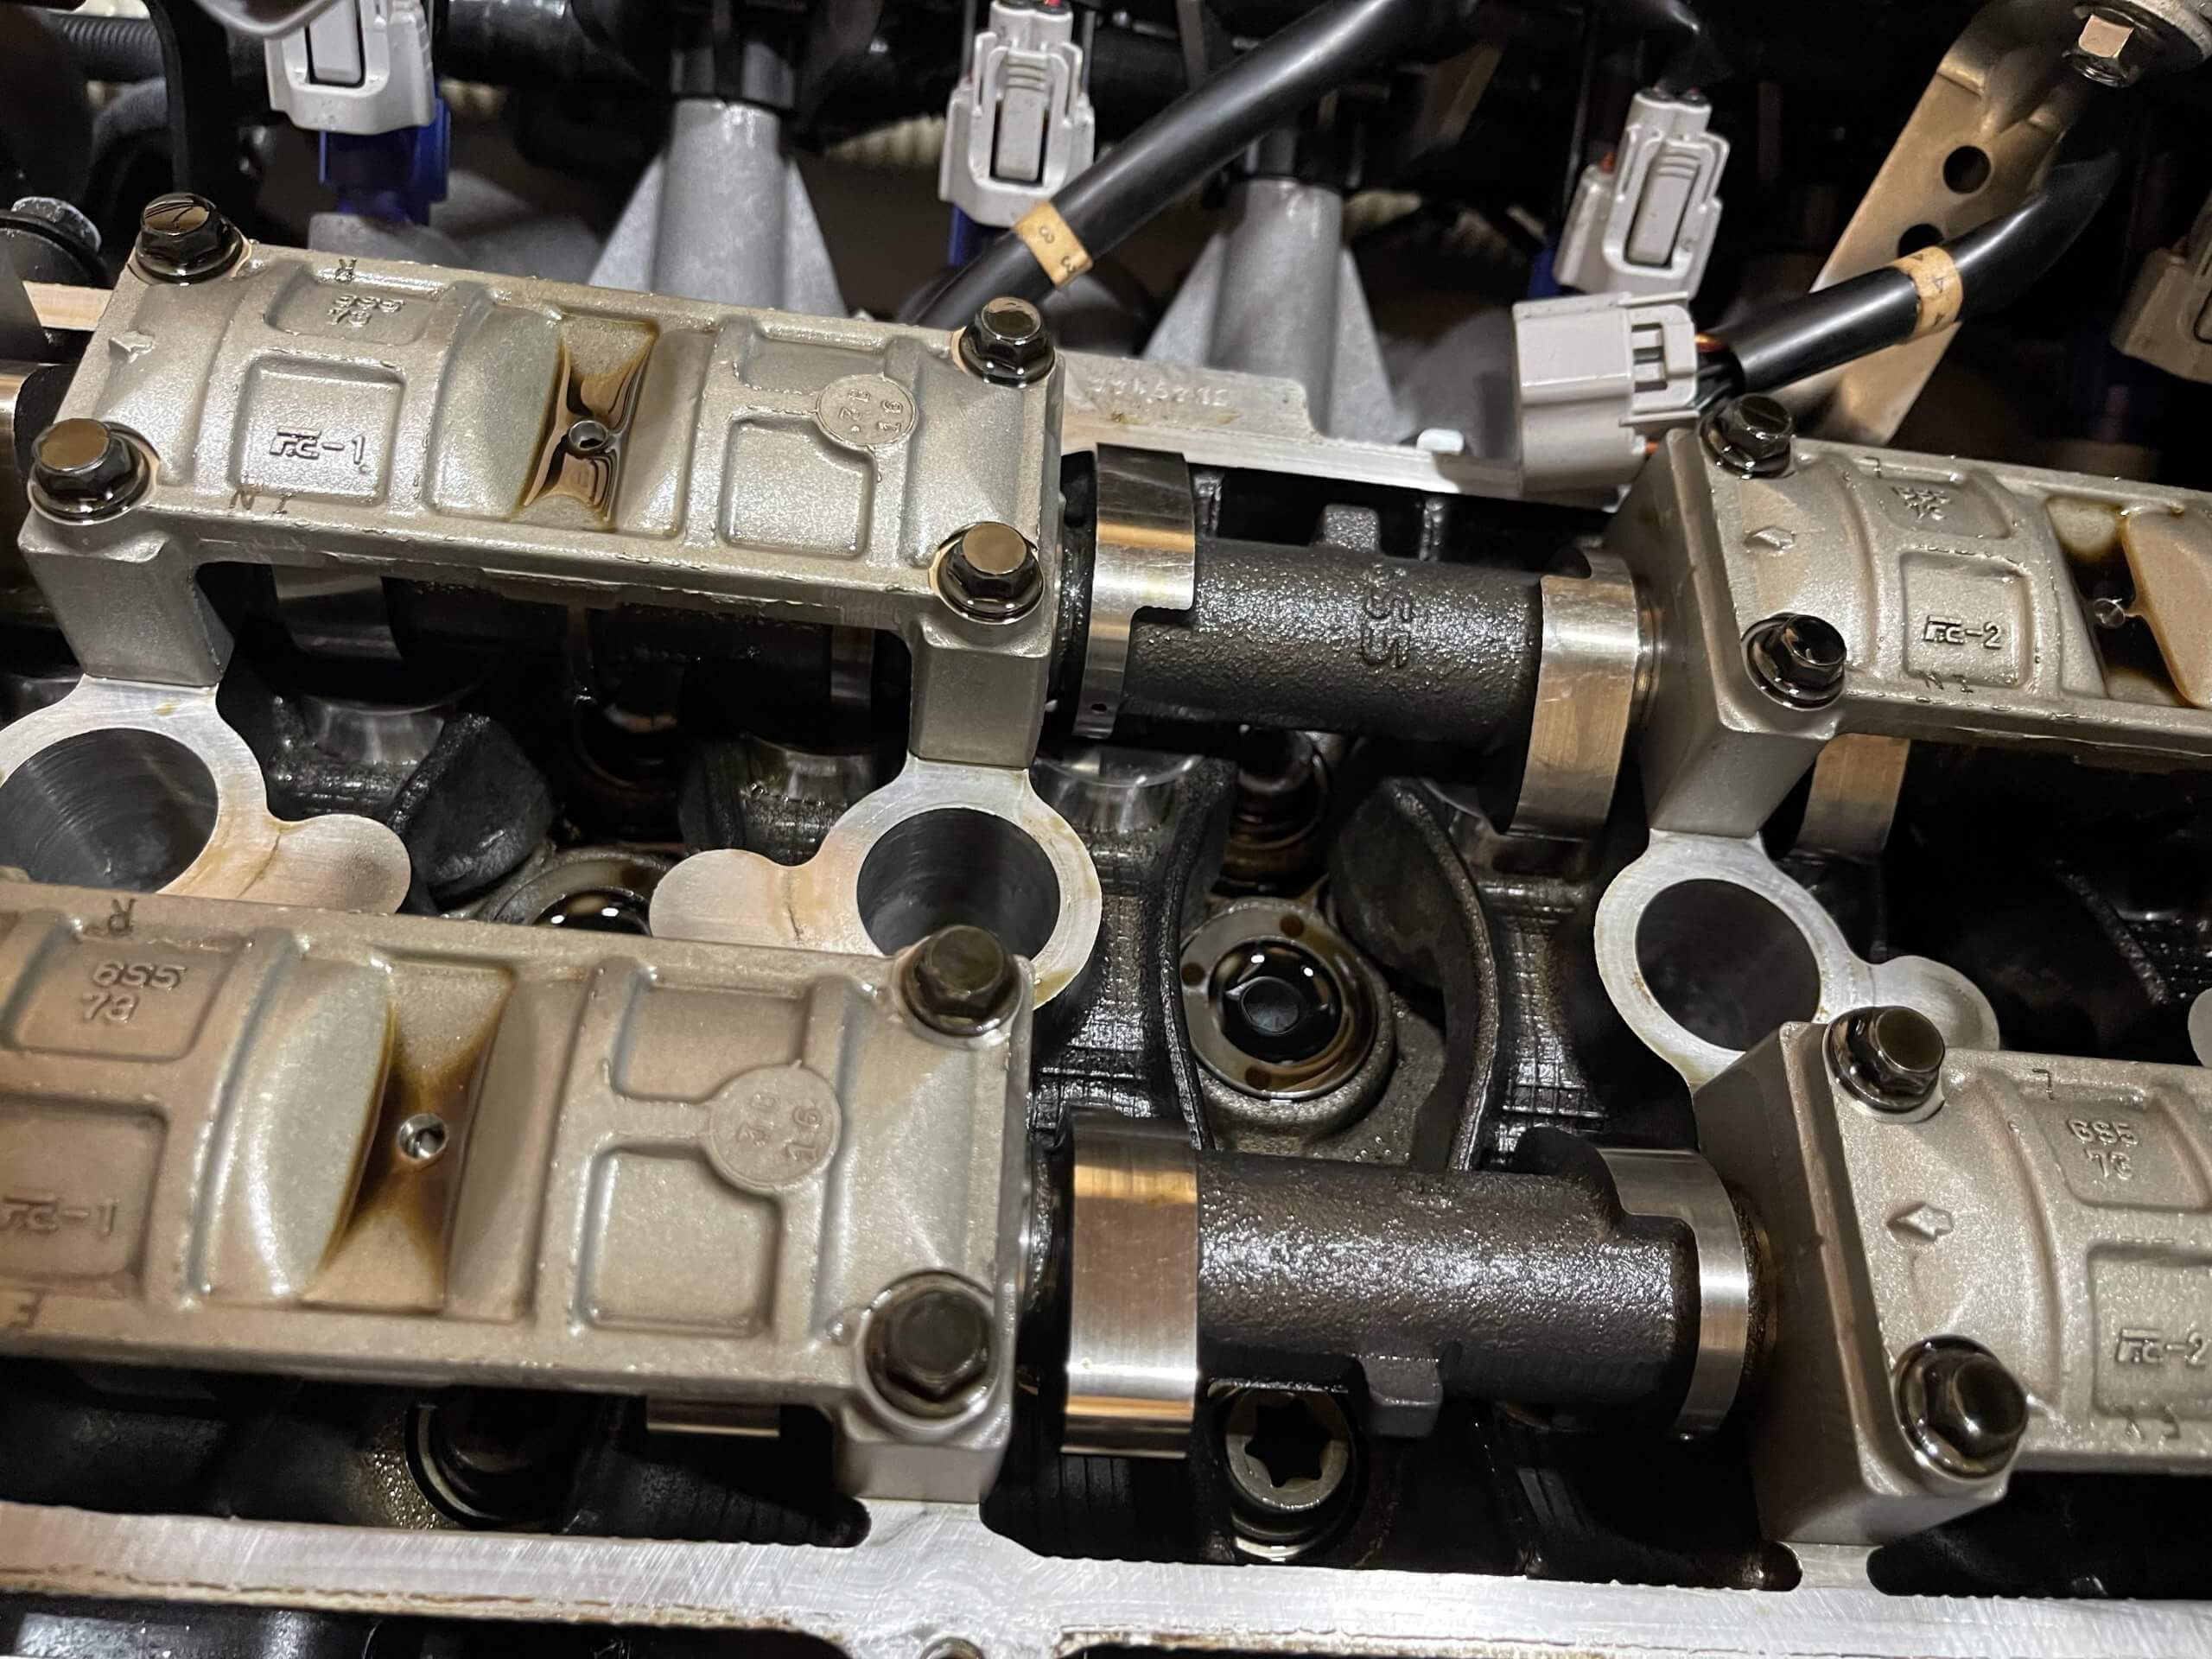
Valve Cover Removal & Inspection
So the next low-effort task is going to be to pull the valve cover and see if I see anything obvious. We are trying to minimize the labor hours. I’m treating this not like my boat. I want to minimize the labor and give the owner the choice of what they want to do. The next steps are going to range easily into the thousand dollar mark and above. If the engine is beyond repair and needs a whole new remanufactured one it’s going to be thousands of dollars and seven to ten weeks out due to parts shortages. Additionally, they require the core in advance.
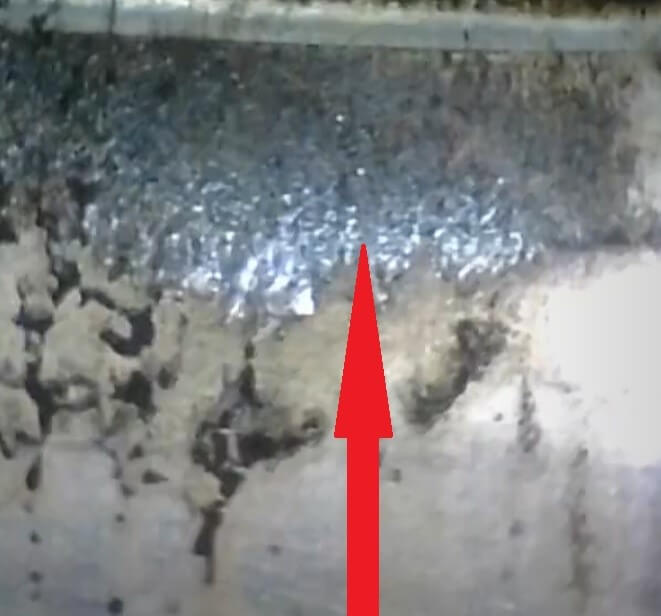
What we find under the valve cover looks normal, there is some wear. I can check lash if I can rotate the engine to Top Dead Center. If the valve lash is out of tolerance, I can get a shim kit and go from there. Regardless the next logical step is that the cylinder head will need to come off. The compression in cylinder number one is less than fifty percent of the minimum.
Cylinder Head Removal, the next step!
So the next step will be to pull the head. There is a bit of mystery here as to why the cylinders have some sort of water intrusion. Looks like cylinder #3 seems to be the only normal cylinder, and that may not be the case. This was a result of us doing a Cylinder Inspection with a camera. This was the least intrusive method of trying to determine what was happening without tearing stuff down. We may still check the valve lash before we remove the cylinder head. I will need to get the motor to Top Dead Center. There is a tool I need to order to get this done.