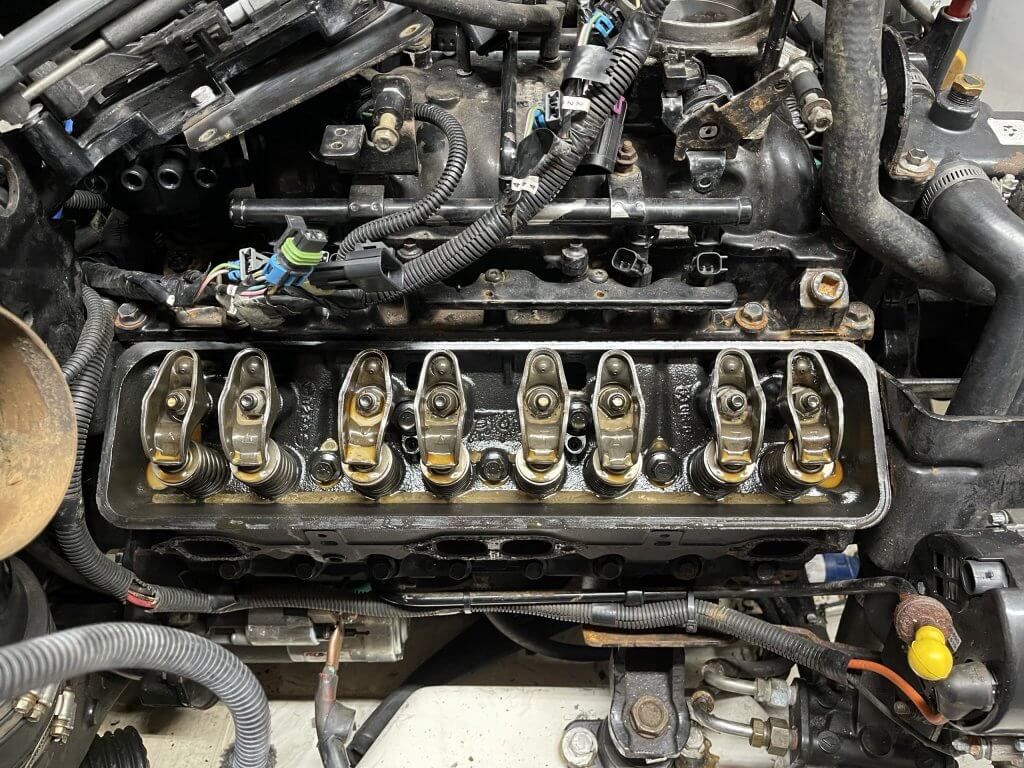
Starboard valve cover removed
MerCruiser Starboard Cylinder Head Removal Items – Alternator Mounting Brackets
To see how we got here, you can see what we have done prior to this point. We just got through inspecting the lifter valley. To this point we are still not able to determine why there is a tremendous amount of water in the oil. We started under the assumption that there is a crack in one of three places
- In the Intake
- Nothing apparent other than a ton of rust inside and out (Clean and Magnaflux)
- Lifter valley
- Nothing apparent, no visible cracks (Magnaflux / Block Removal)
- Port and Starboard heads (External)
- Nothing apparent in the lifter valley (Remove Head for visual inspection / Magnafux)
First, we are going to start by losing and removing the serpentine belt. Be aware, there is a bolt on the idler pulley and a smaller pivot bolt that moves the tensioner up and down. Above all, loosen the pivot shaft (8mm) to slide the idler pulley down. Secondly, remove the Starter Wiring. In addition, cut the wire ties that attach the alternator wiring from the oil dipstick and move the wiring aside. We will in the next step remove the starter relay and starter wiring. Now remove the three bolts on the alternator and then remove the alternator. Lastly, remove the two brackets that attach to the head.
MerCruiser Starboard Cylinder Head Removal – Starter Wiring
Additionally, after removing the alternator and brackets. Next, you will have to remove the wiring to goes to the starter and the starter relay. Furthermore, this is to facilitate the removal of the starboard head. Lastly, the starter and alternator wiring is running in front of the rear lifting eye on the starboard head.
The Next Step in the process
Our next step in the process is to pull the starboard cylinder head and see what is going on in the cylinders, mating surfaces and the head gasket.